

This article is about how to Automate the installation of Multinode Kubernetes Cluster. The main use of Multinode Kubernetes Cluster is to reduce the Single Point Of Failure. If we are using a single node then its prone to Single Point Of Failure if the Node fails then the complete cluster fails that is the reason why there is a need of Multiple Nodes.
Architecture:
In a Kubernetes Multi Node Cluster we will have a master, and two or more number of slaves. Now we need to create this architecture. Firstly we need about three or more instances that should be launched inorder to create the architecture. For this we can either use virtual machines or cloud computing. Here, I am using AWS cloud to launch the instances and then configure the cluster over it.
Launching the instances:
- To launch the instances on AWS we need to plan various parameters for the instance and then we can launch the instance. Firstly to launch the instances I have written the following playbook(I hardcoded some values here it not the final playbook):
- hosts: localhost
  tasks:
    - name: 'Create key-pair'
      ec2_key:
        name: 'aws-ansible'
      register: key
    - name: 'Saving key-file'
      copy:
        dest: 'aws-ansible.pem'
        content: '{{key["key"]["private_key"]}}'
      when: key.changed==True
    - name: 'Launching the slave instance'
      ec2:
        region: 'us-east-1'
        key_name: '{{key.key.name}}'
        instance_type: 't2.micro'
        image: 'ami-xxxxxx'
        vpc_subnet_id: 'subnet-xxxxxx'
        instance_tags:
          Name: 'slaves'
        count: 2
    - name: 'Launching the master instance'
      ec2:
        region: 'us-east-1'
        key_name: '{{key.key.name}}'
        instance_type: 't2.micro'
        image: 'ami-xxxxxx'
        vpc_subnet_id: 'subnet-xxxxxx'
        instance_tags:
          Name: 'master'
        count: 1
In the above playbook the task
Create key-pairwill create the keypair if the keypair doesn't exist in the given region if the keypair already exist it just gets the name.If a new key pair is created then the keypair should be downloaded for this the second task
Saving key-pairwill help in downloading the keypair.Then the third and fourth tasks will launch the instances accordingly.
After launching the instances we need to Configure the instances
Configuring all the instances:
- We need to install docker, kubelet, kubectl, kubeadm, iproute-tc on all the nodes for this I have used the following playbook:
- hosts: _slaves,_master
  tasks:
    # disabling selinux
    - name: "Disabling SELinux"
      selinux:
        state: disabled
      ignore_errors: yes
    # this task checks if docker is already installed
    - block:
      - name: "Checking if docker is already installed"
        shell: "docker"
        ignore_errors: yes
        register: install
      - debug:
          msg: "Docker is already installed"
        when: install.rc==0
      - debug:
          msg: "Docker is not installed"
        when: install.rc!=0
    # this task will install docker if not installed
    - block:
      - name: "Installing Docker"
        shell: "yum install docker -y"
        ignore_errors: yes
      when: install.rc!=0
    # starting the docker service
    - name: "Starting Docker"
      service:
        name: "docker"
        state: started
        enabled: yes
    - name: "Realoading the daemon"
      systemd:
        daemon_reload: yes
    # creating a new repo for software required for kubernetes
    - name: "Creating yum repo for kubelet, kubeadm and kubectl"
      yum_repository:
        name: "kubernetes"
        description: "Kubernetes repository"
        file: "kubernetes"
        baseurl: 'https://packages.cloud.google.com/yum/repos/kubernetes-el7-$basearch'
        enabled: yes
        gpgcheck: yes
        gpgkey: 'https://packages.cloud.google.com/yum/doc/yum-key.gpg https://packages.cloud.google.com/yum/doc/rpm-package-key.gpg'
        exclude: 'kubelet kubeadm kubectl'
    # installing the packages required by kubernetes
    - name: "Installing the packages"
      yum:
        name:
          - 'kubeadm'
          - 'kubectl'
          - 'kubelet'
        disable_excludes: "kubernetes"
    # starting the kubelet service
    - name: "Starting kubelet services"
      service:
        name: "kubelet"
        state: "started"
        enabled: yes
    # installing iproute-tc
    - name: "Installing iproute-tc"
      package:
        name: 'iproute-tc'
        state: 'present'
    # turning off the swap
    - name: 'Turning off swap'
      shell: 'swapoff -a'
    # changing the cgroup driver in docker info from cgroupfs to systemd
    - name: 'Changing the cgroup dirver from cgroupfs to systemd'
      copy:
        dest: '/etc/docker/daemon.json'
        src: 'daemon.json'
    # restarting the docker and reloading the daemon in order to make the changes to appear
    - name: "Restarting the docker service"
      service:
        name: "docker"
        state: restarted
At first I have checked if the docker is installed or not then if the docker is not installed then I installed docker.
After installing the docker I started and enabled the docker service and changed the Cgroup Driver from
cgroupfstosystemdand restarted the docker service.After for installing the kubeadm, kubelet, kubectl I created a yum repo on the nodes. With which I installed them.
I installed the kubeadm, kubelet and kubectl using yum module and started and enabled the kubelet service
Then I installed iproute-tc software
After configuring the nodes I have configured one of the nodes as master
Configuring Master:
I have used the following playbook to configure the master node after configuring all those that are common for master and slave:
- hosts: _master
  tasks:
    # pulling the required images
    - name: "Pulling the required images for kubernetes"
      shell: "kubeadm config images pull"
    # starting the kubernetes master
    - name: "Starting the kubernetes master"
      shell: "kubeadm init --pod-network-cidr=10.0.0.0/16 --ignore-preflight-errors=Mem --ignore-preflight-errors=NumCPU"
    # making master as the client
    - name: "Making master as the client"
      file:
        path: $HOME/.kube
        state: directory
        mode: 0755
    - name: "Copying the kube-config file to the $HOME/.kube folder"
      shell: "cp -i /etc/kubernetes/admin.conf $HOME/.kube/config"
    - name: "Changing the owner of the config file to the user who is running the commands"
      shell: "chown $(id -u):$(id -g) $HOME/.kube/config"
    # storing the join command
    - name: "Getting the join command"
      command: "kubeadm token create --print-join-command"
      register: joinCommand
    - name: "Storing the join command"
      set_fact:
        joinCommand: "{{joinCommand['stdout']}}"
    - name: "debug"
      debug:
        var: joinCommand
The above playbook pulls the required images for the docker, starts the master and then makes the master into a client node.
Now we can copy the join command and paste it in the playbook for configuration of slave node and configure the slave or we can use the joinCommand fact of master.
Configuring the Slave:
I have used the following playbook to configure the slave node after configuring all those that are common for master and slave:
- hosts: _slaves
  tasks:
    # copying the sysctl file
    - name: "Copying files for sysctl"
      copy:
        dest: "/etc/sysctl.d/k8s.conf"
        src: "k8s.conf"
    # restarting the sysctl
    - name: "Restarting the sysctl"
      shell: "sysctl --system"
    # joining the slave to the master using the join command
    - name: "Joining the slave nodes to the master node"
      shell: "{{ joinCommand }}"
Now once the slave nodes join the master node we need to start the flannel pods. Following is the playbook I have used to start the flannel pods and then after the flannel pods started I started the wordpress application.
- hosts: _master
  tasks:
    # adding the CNI pods
    - name: "Getting config for flannel pods"
      shell: "curl -O https://raw.githubusercontent.com/flannel-io/flannel/master/Documentation/kube-flannel.yml; sed -i s@10.244.0.0/16@10.0.0.0/16@g kube-flannel.yml;"
    - name: "Adding the flannel pods"
      command: "kubectl apply -f kube-flannel.yml"
    # lauching wordpress application
    - name: "Copying the template for the Wordpress Persistent DB"
      copy:
        src: wordpress-mysql.yml
        dest: wordpress-mysql.yml
    - name: "Launching wordpress and mysql database"
      command: "kubectl apply -f wordpress-mysql.yml"
Converting the above to roles:
I have converted the above into roles namely aws-instances, master, slave I have used these three roles and created a playbook that configures the complete setup.
Following is the playbook I created to use the roles:
- hosts: localhost
  vars_prompt:
    - name: _access_key
      prompt: "Enter your AWS access key"
      private: yes
    - name: _secret_key
      prompt: "Enter your AWS secret key"
      private: yes
    - name: _region
      prompt: "Enter region name"
      private: no
    - name: _subnet_id
      prompt: "Enter subnet id"
      private: no
    - name: _slavesNumber
      prompt: "Enter number of slave nodes"
      private: no
    - name: _keypair_name
      prompt: "Enter keypair name"
      private: no
    - name: _instance_type
      prompt: "Enter instance type"
      private: no
    - name: _instance_ami
      prompt: "Enter the image id"
      private: no
  environment:
    AWS_ACCESS_KEY: "{{ _access_key }}"
    AWS_SECRET_KEY: "{{ _secret_key }}"
  tasks:
    - name: "Installing boto inorder to work with ec2 module"
      pip:
        name: "boto"
    - name: "Installing boto3 inorder to work with ec2 module"
      pip:
        name: "boto3"
    - name: 'Launching instances according to requirement'
      import_role:
        name: 'aws-instances'
        tasks_from: 'launch_instances.yaml'
      vars:
        region: '{{ _region }}'
        subnet_id: '{{ _subnet_id }}'
        keypair_name: '{{ _keypair_name }}'
        instance_type: '{{ _instance_type }}'
        instance_ami: '{{ _instance_ami }}'
        slavesNumber: '{{ _slavesNumber }}'
        networkCIDR: '{{ _network_cidr }}'
    - name: 'Refresing the inventory'
      meta: refresh_inventory

- hosts: _master,_slaves
  vars_prompt:
  tasks:
    - wait_for:
        port: 22
    - name: "Configuring launched instances"
      import_role:
        name: "{{ inventory_hostname[1:] }}"
        tasks_from: 'configuring_instances.yaml'
- hosts: _master
  vars_prompt:
    - name: _network_cidr
      prompt: "Enter pod network cidr"
      default: '10.244.0.0/16'
      private: no
  tasks:
    - name: "Configuring master node"
      import_role:
        name: 'master'
        tasks_from: 'master_config.yaml'
      vars:
        networkCIDR: '{{ _network_cidr }}'
- hosts: _slaves
  tasks:
    - name: "Configuring slave node"
      import_role:
        name: 'slave'
        tasks_from: 'slave_config.yaml'
      vars:
        joinCommand: "{{ hostvars[groups['_master'][0]]['joinCommand'] }}"
- hosts: _master
  tasks:
    - name: "Configuring master node"
      import_role:
        name: 'master'
        tasks_from: 'master_config_1.yaml'
      vars:
        networkCIDR: "{{ hostvars[groups['_master'][0]]['networkCIDR'] }}"
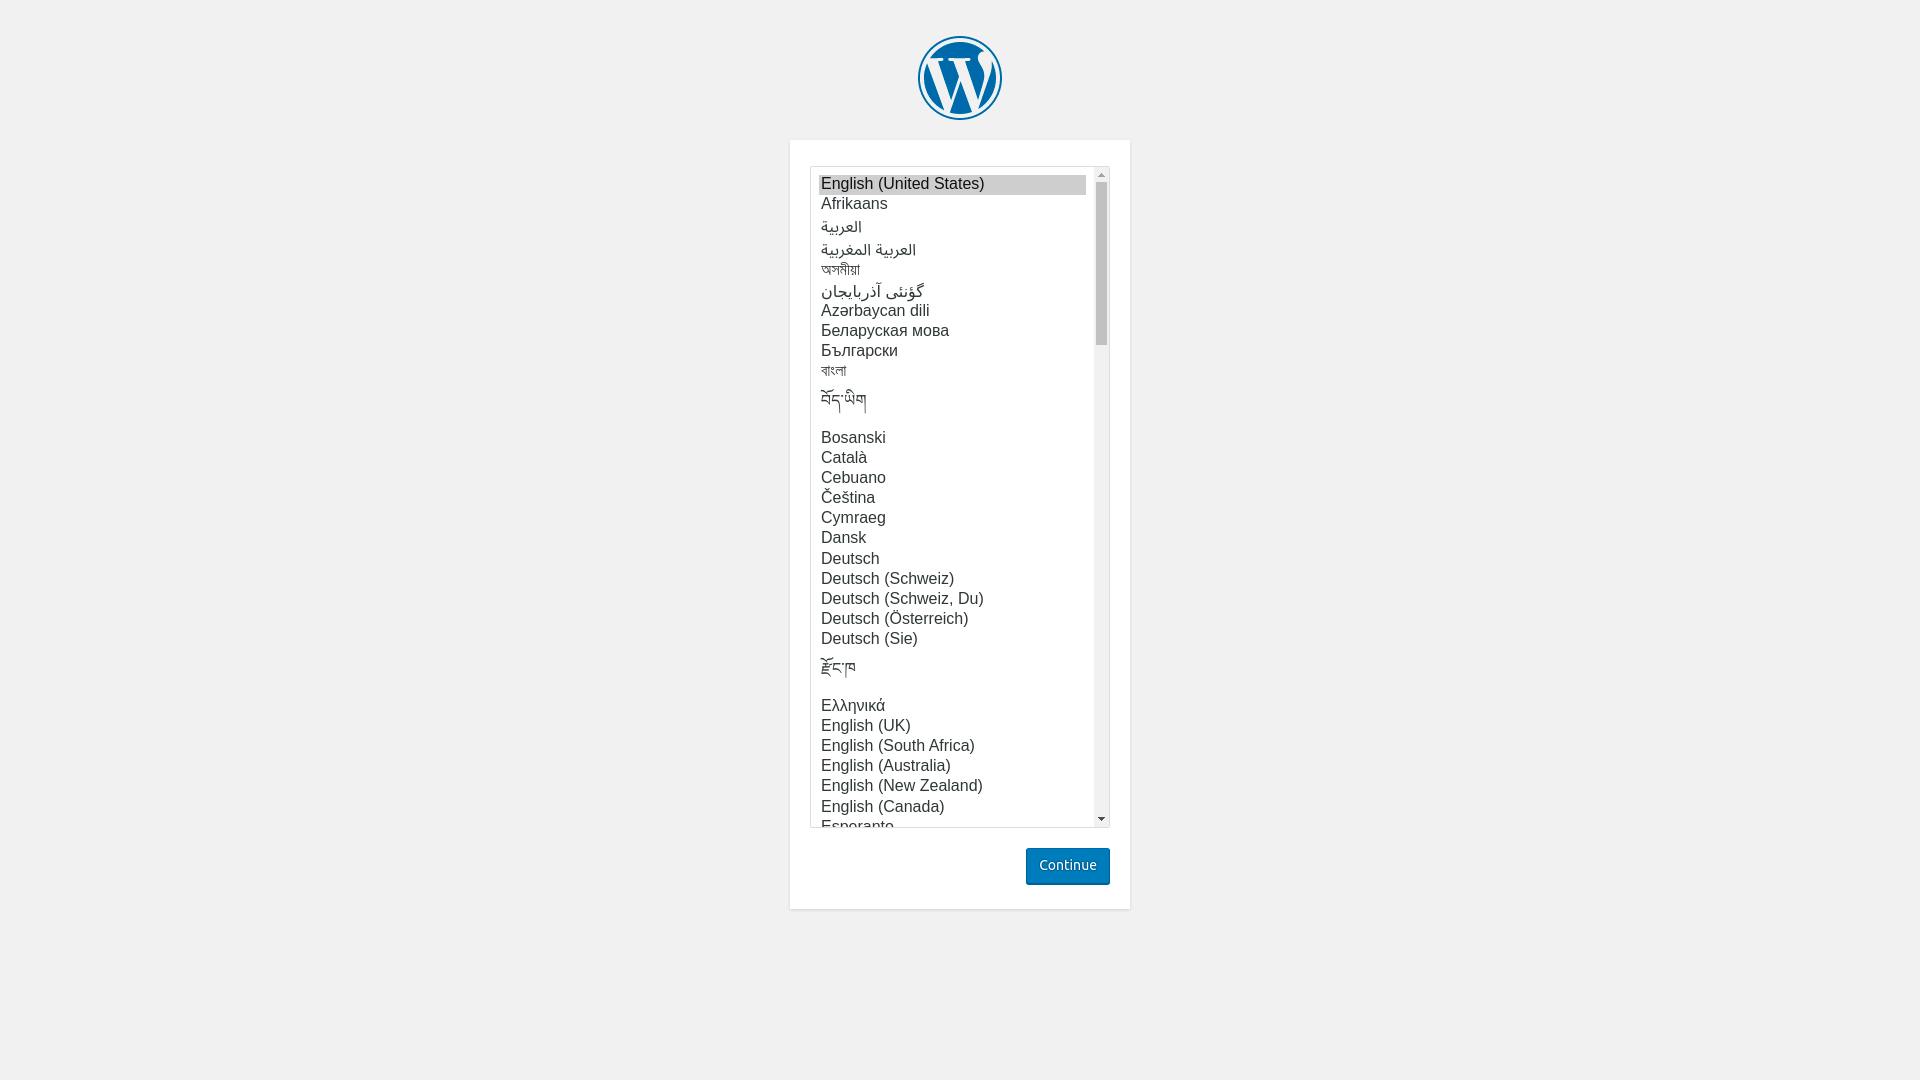
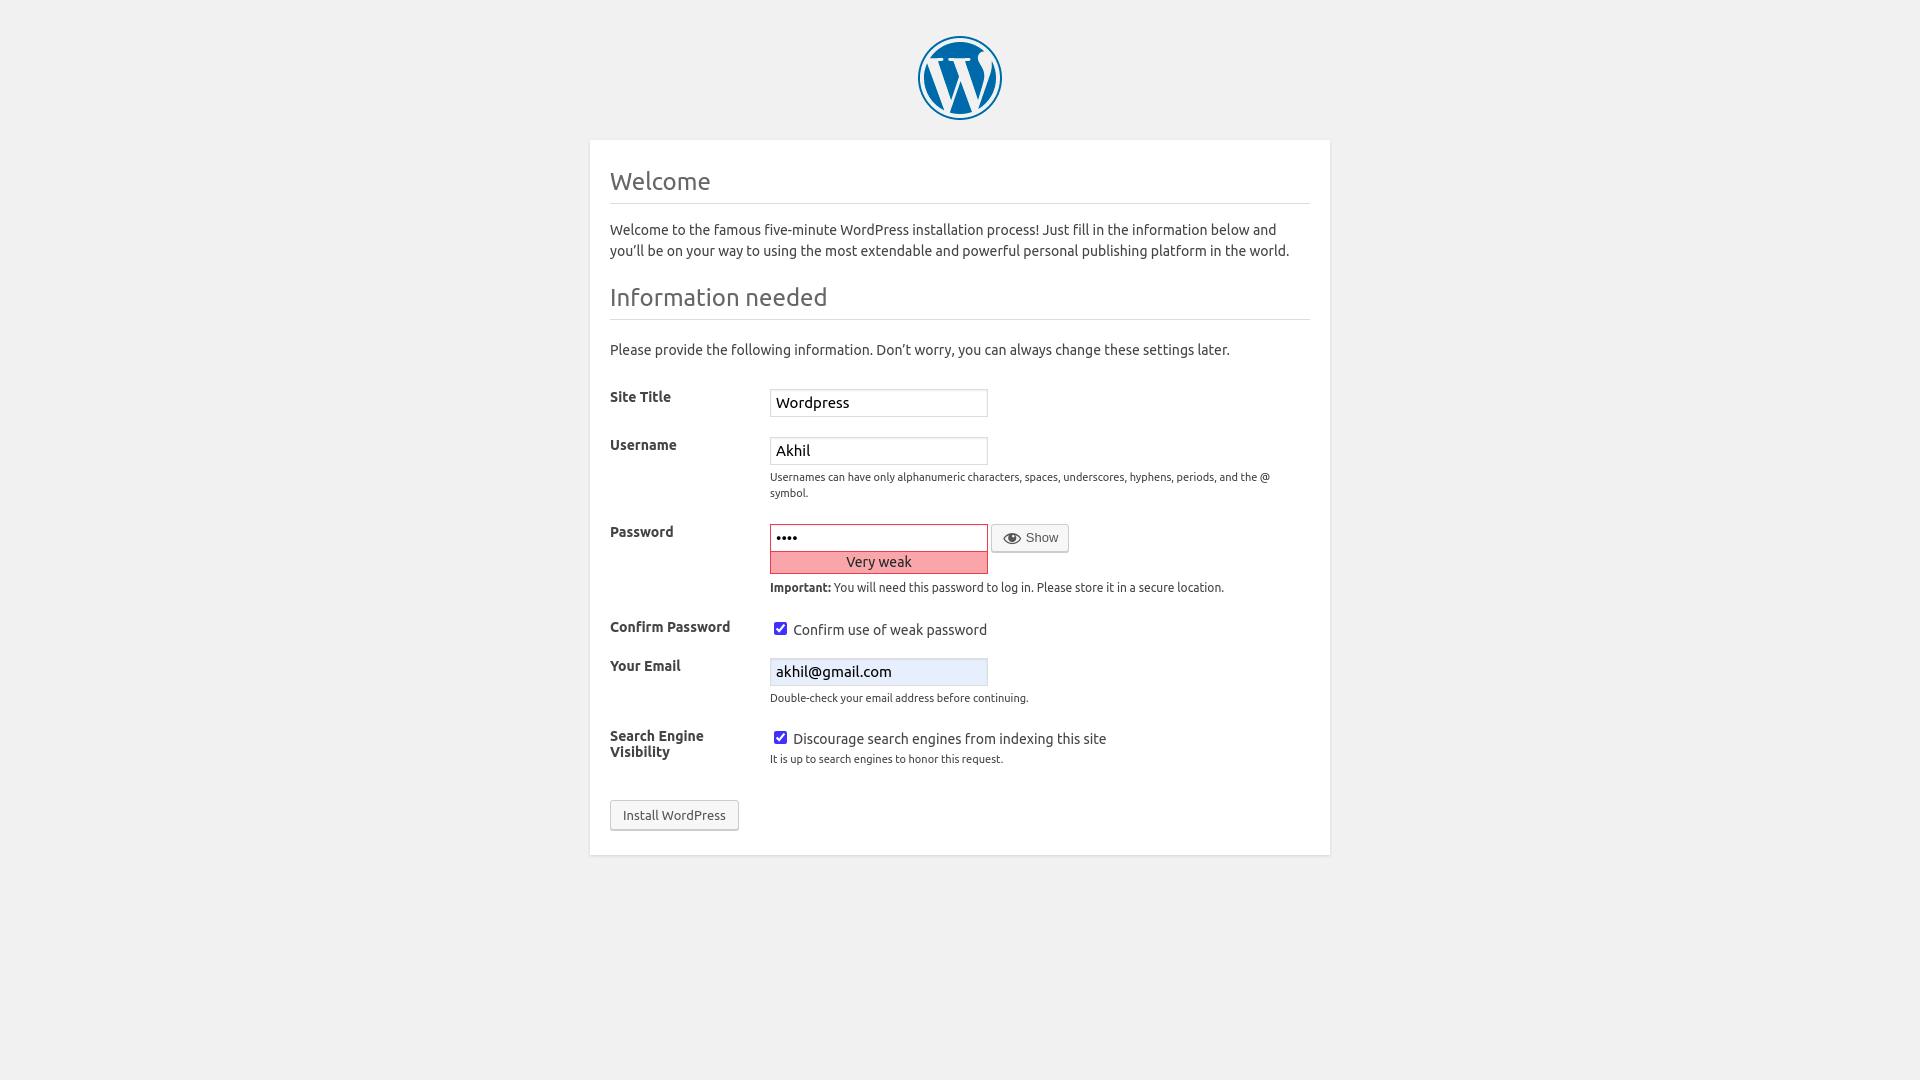
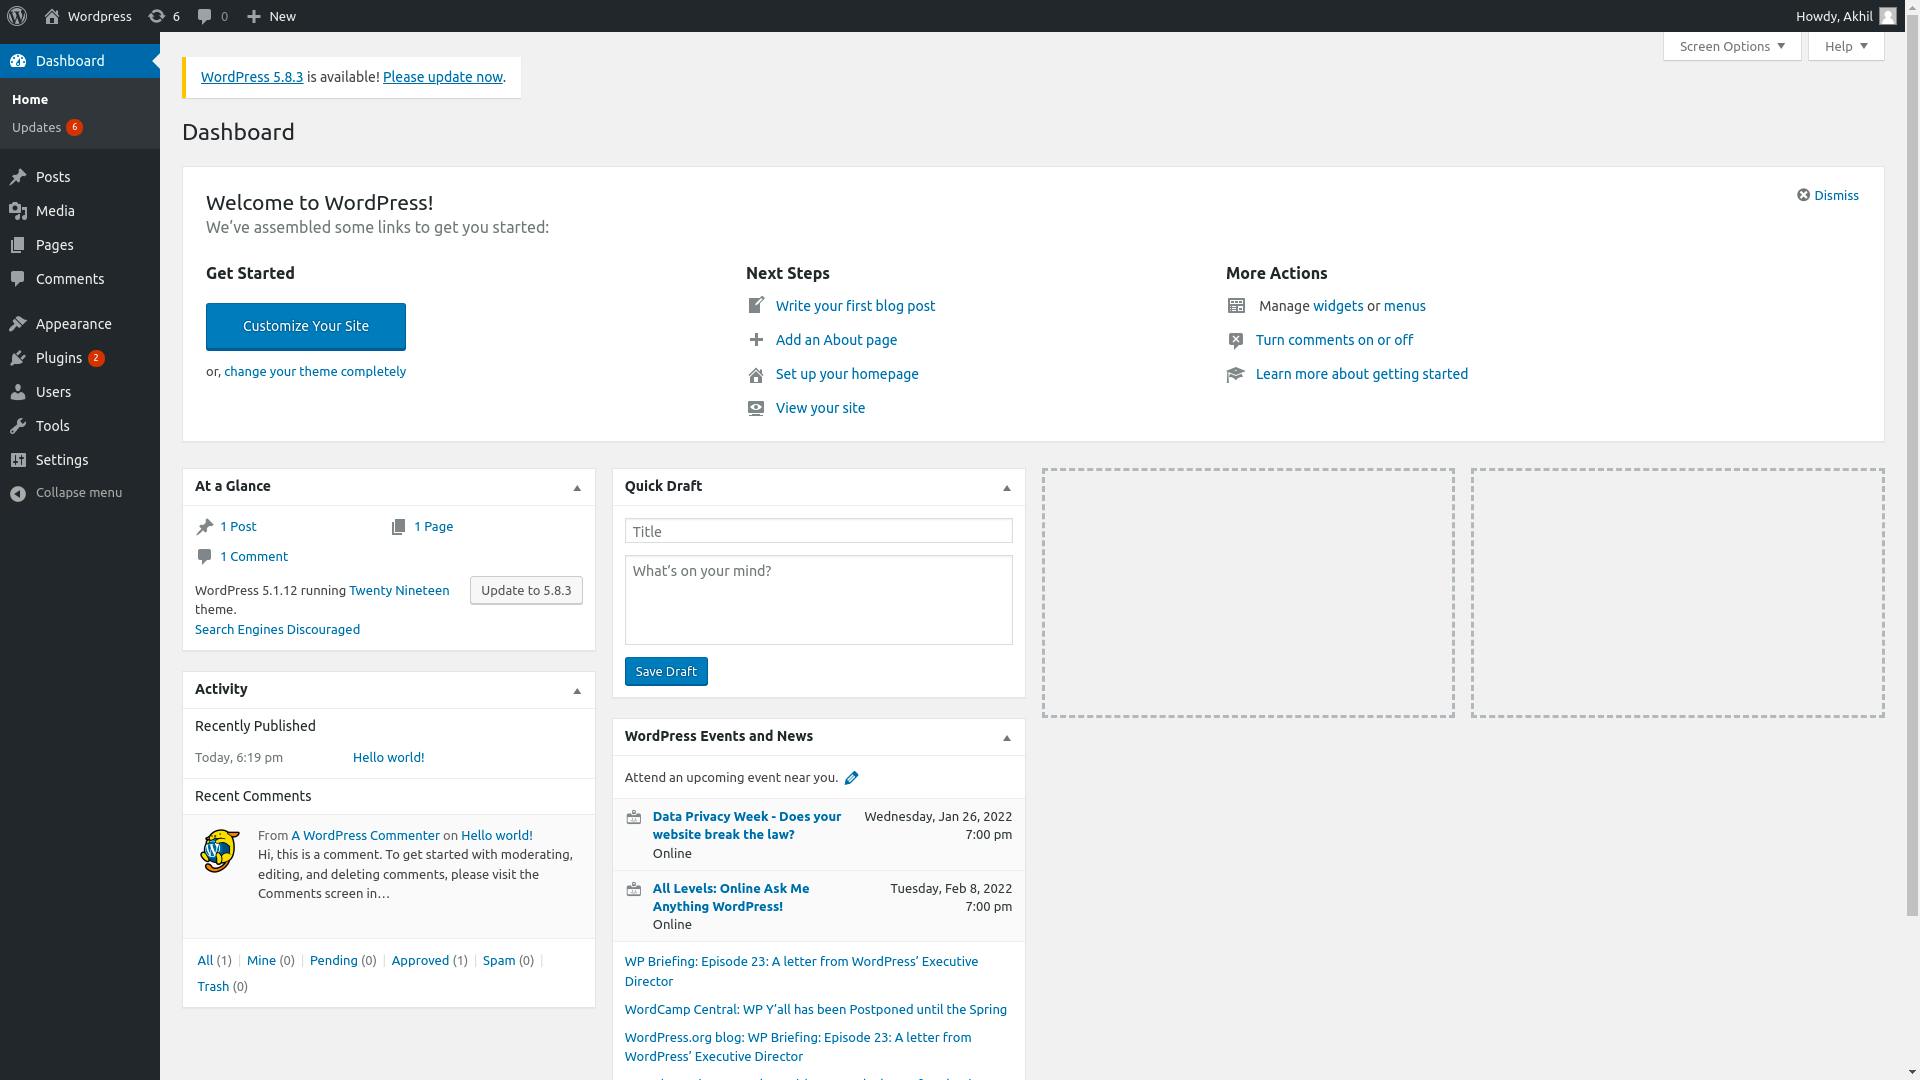
Final Output:
The wordpress server is launched on port 30001 as hardcoded in the wordpress-mysql.yml file

You can have a look at the final configuration files here