


In this article I am going to show how to create a database in Relational Database Service(RDS) of AWS, how to install WordPress server on an EC2-instance, and then how to connect the Database to the WordPress server.
Creating a database in AWS RDS:
Firstly to create the Database we need to go to the RDS dashboard of AWS and then click on create database. Then we need to give the configuration for the RDS. Following is the configuration that I gave while launching the database:
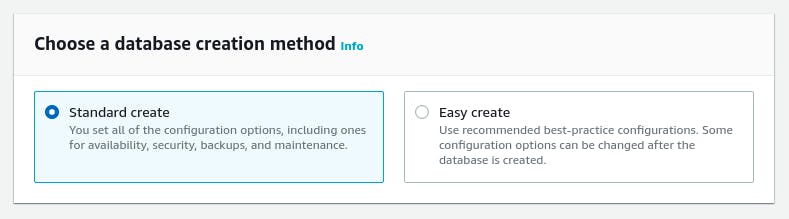 Selected the database creation method as default
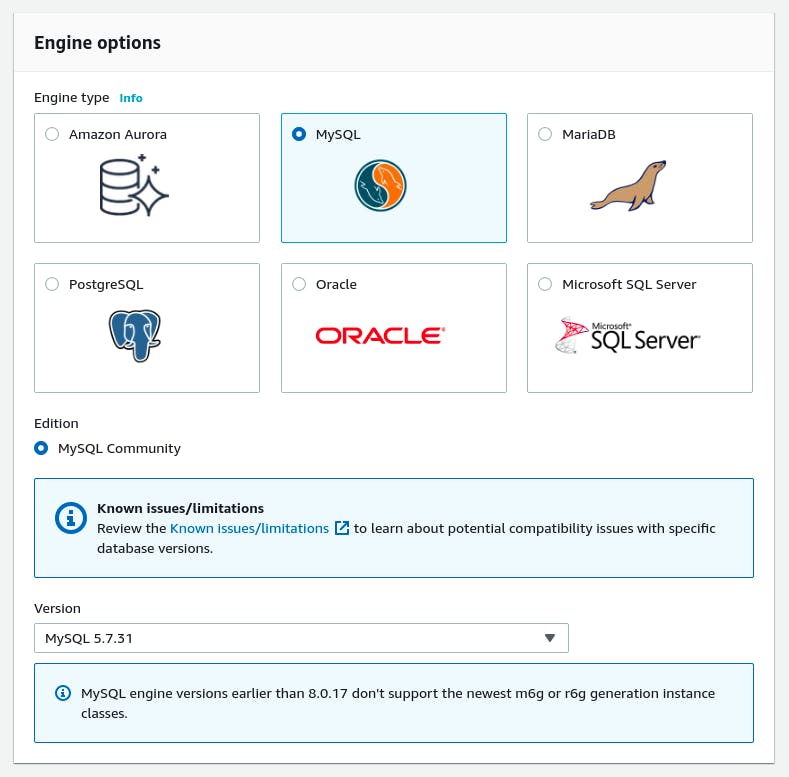 Selected the database engine as MySQL. WordPress only supports certain versions of MySQL hence choose the 5.7.31 which works with the WordPress.
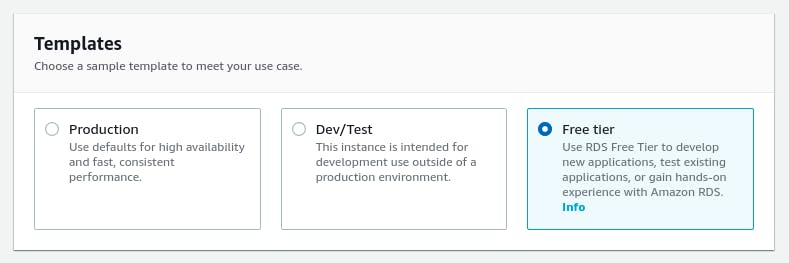 Then I have chosen the free tire template
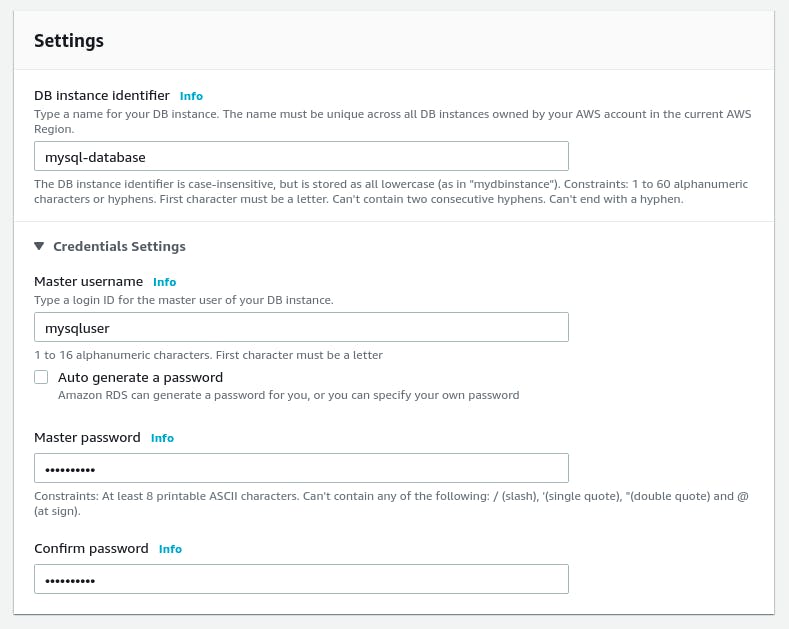 Then entered the database identifier. AWS provides the endpoint with this database identifier. Then I have given the username and the password for the database. This data will be used for authentication.
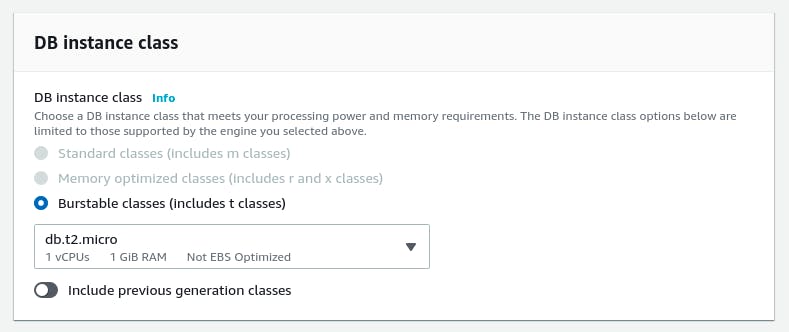 Free tire by default has db.t2.micro as the option selected for the database instance type. I have left that unchanged
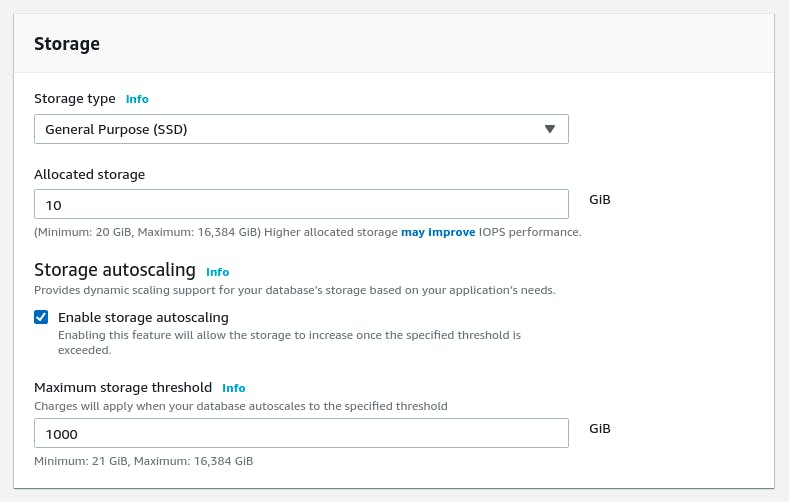 Then I have allocated storage of 10GB to the database. Also there is option for autoscaling which is not necessary for my usecase but left it as default as I am just creating a simple server
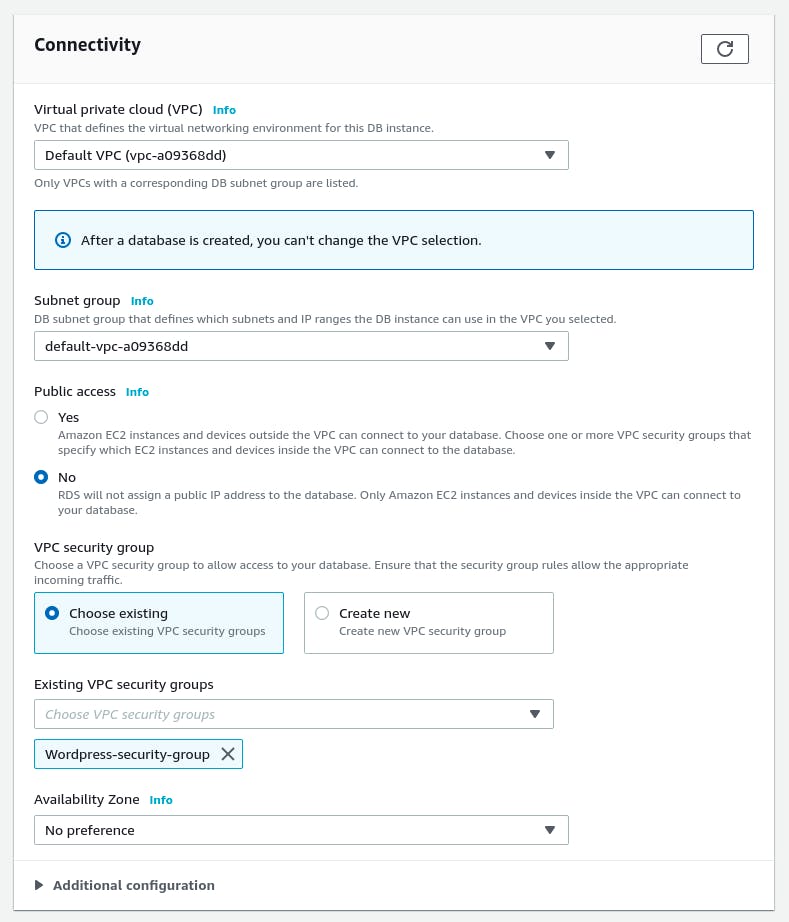 Then I have left the VPC as default as I will be launching the instance in the default VPC. Then I choose an already existing security group which allows all the traffic.
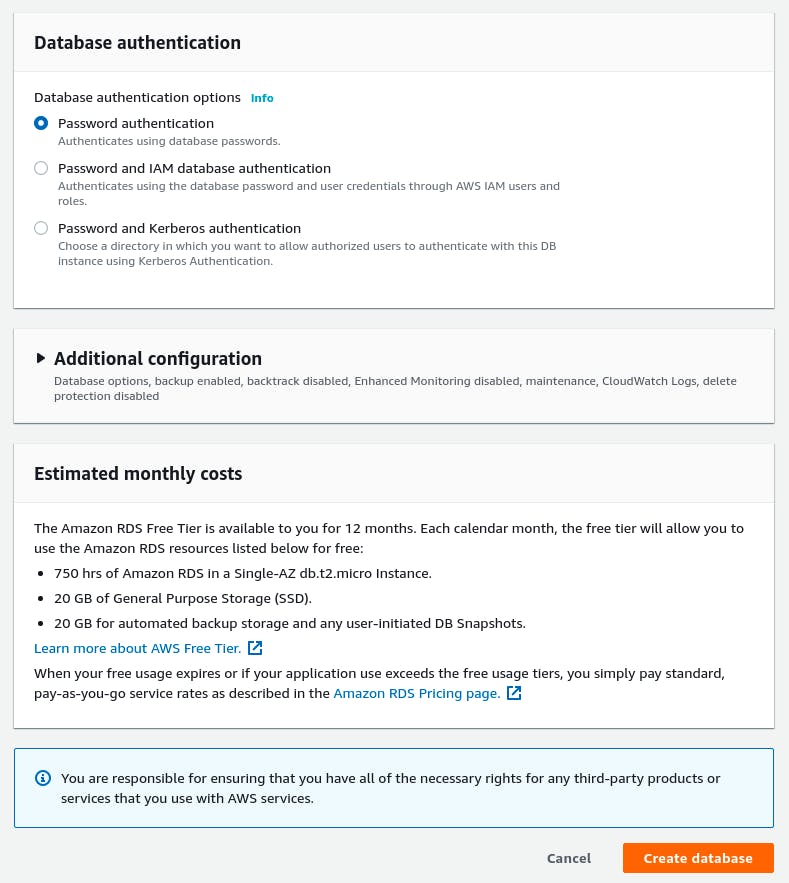 Keeping the remaining options as is I started creating the database. It took around 5-10 mins to launch the database
Configuring the WordPress server:
In this 5-10mins gap I launched an instance using RedHat AMI. Then I have connected to the instance using ssh from my local machine. And then logged into the root shell by using the command sudo su.
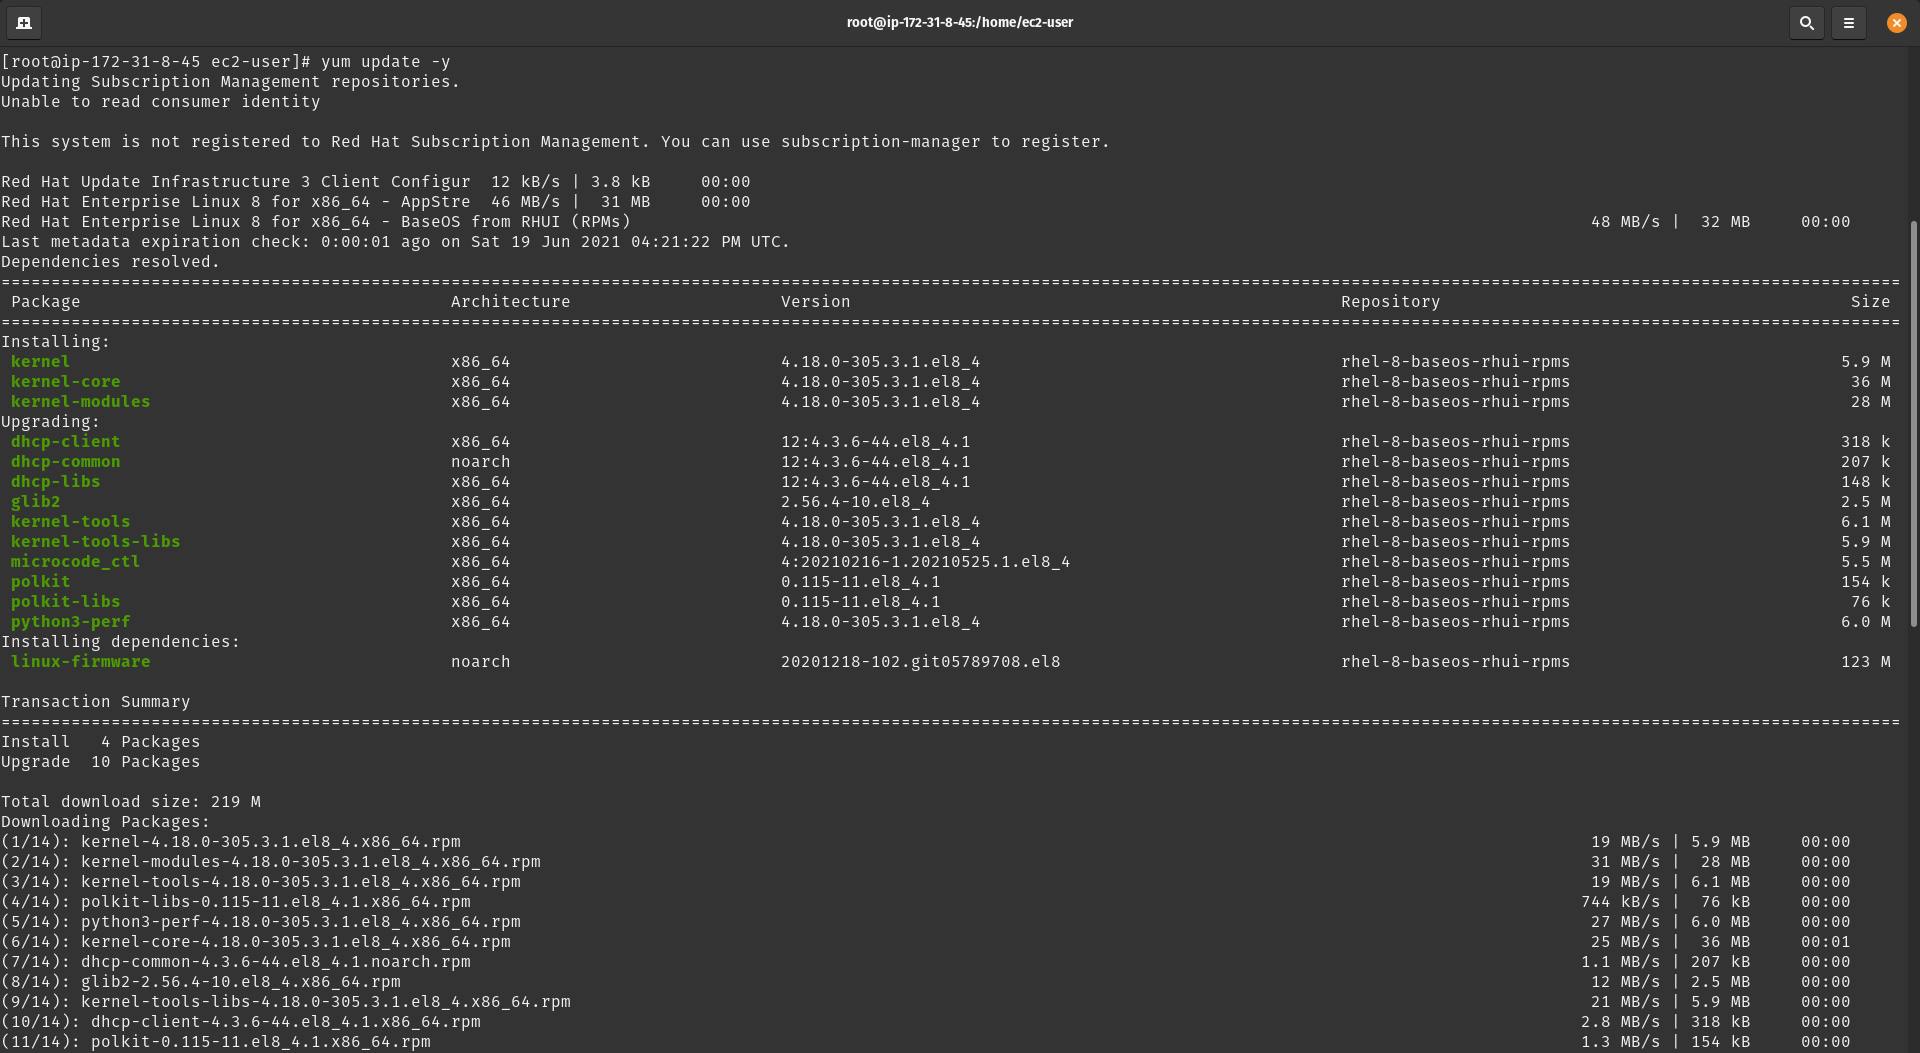 Then I have ran the
 yum update -ycommand which is a better practice. Above is the output I got after doing it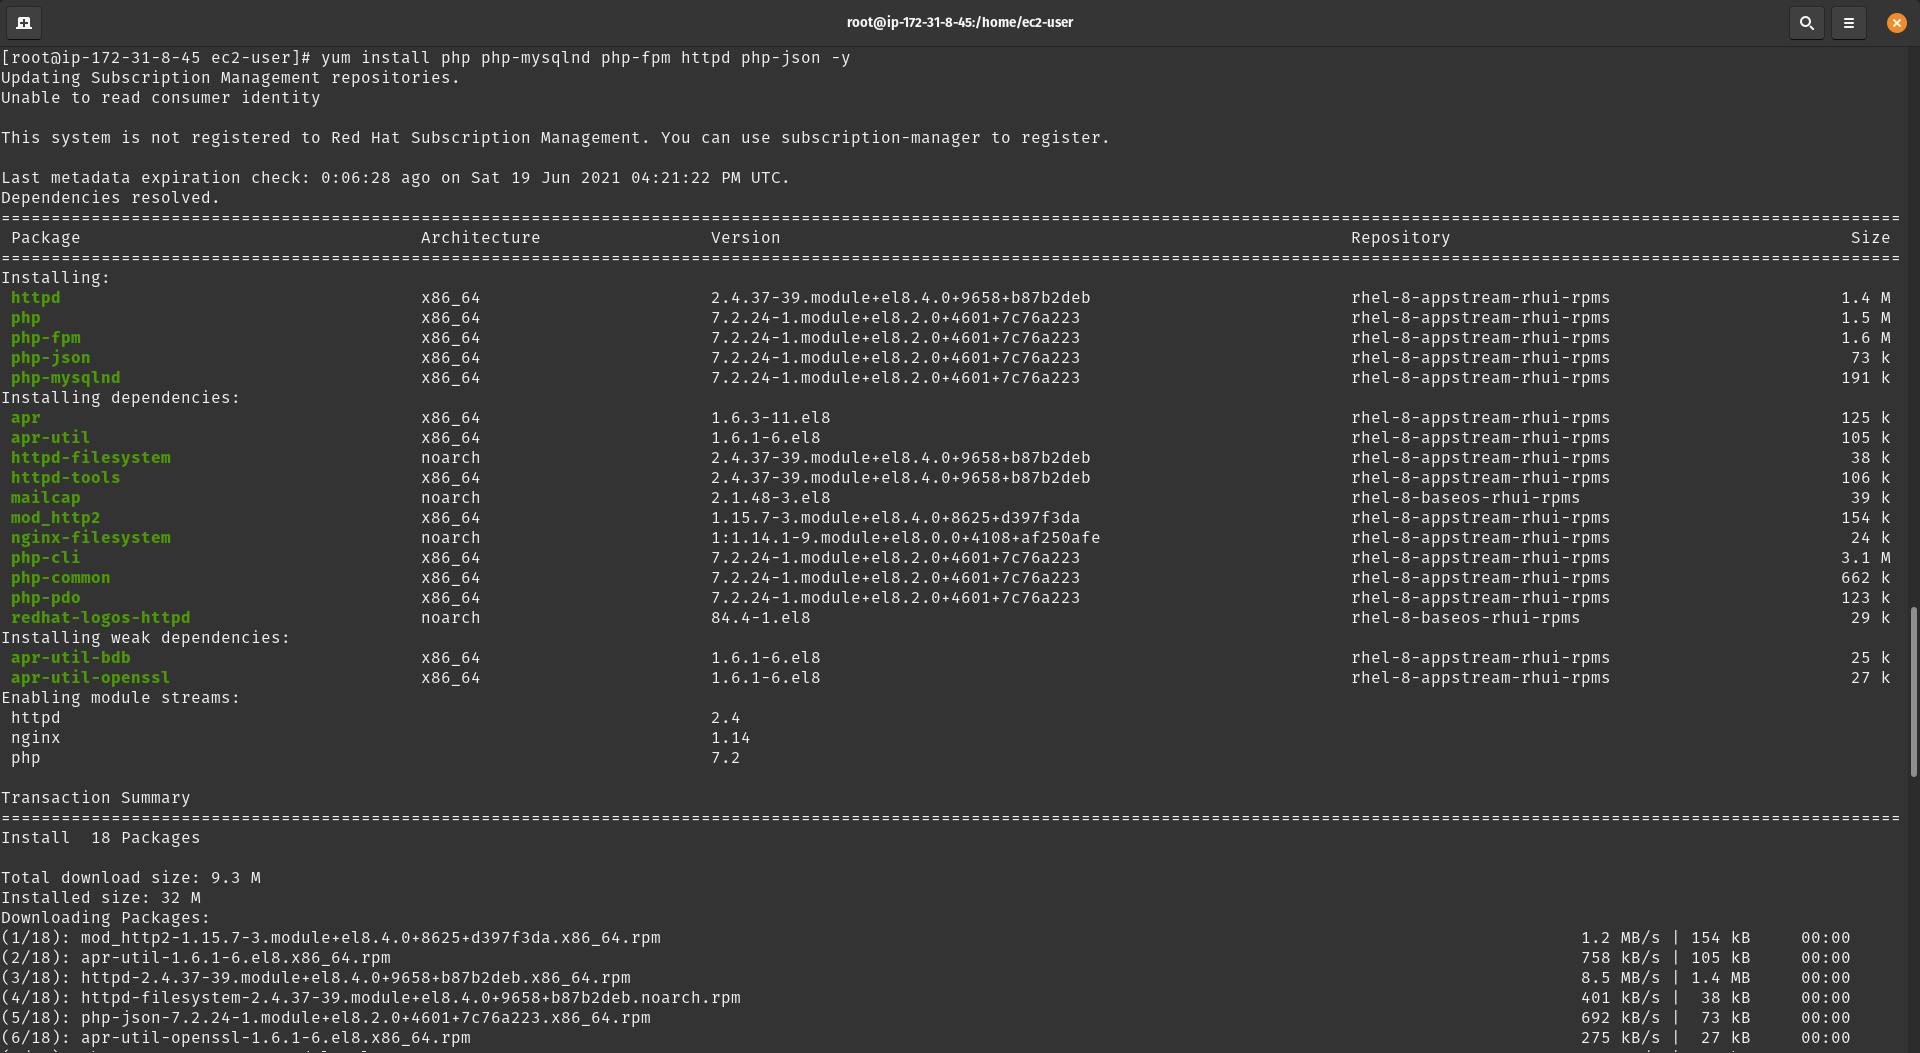 Then I have installed the installed the packages
 php,php-mysqlnd,php-fpm,httpd, andphp-jsonusing the commandyum install php php-mysqlnd php-fpm httpd php-json -y Then I have dowloaded the wordpress server code using the command
 curl -O https://wordpress.ord/latest.tar.gz. Then I have extracted the tarfile using the command
 tar xfz latest.tar.gz. Then I have copied the WordPress content to the/var/www/html/which is the default root document for the HTTPD server. Then I have set the SELinux to permissive mode using the command
 setenforce 0which will disable the SELinux. It will cause some issues during the installation hence disabled it. Then I have started and enabled the htttpd service
Configuring WordPress webapplication:
After the WordPress server is installed properly I opened the webapplication which shows the homepage as follows
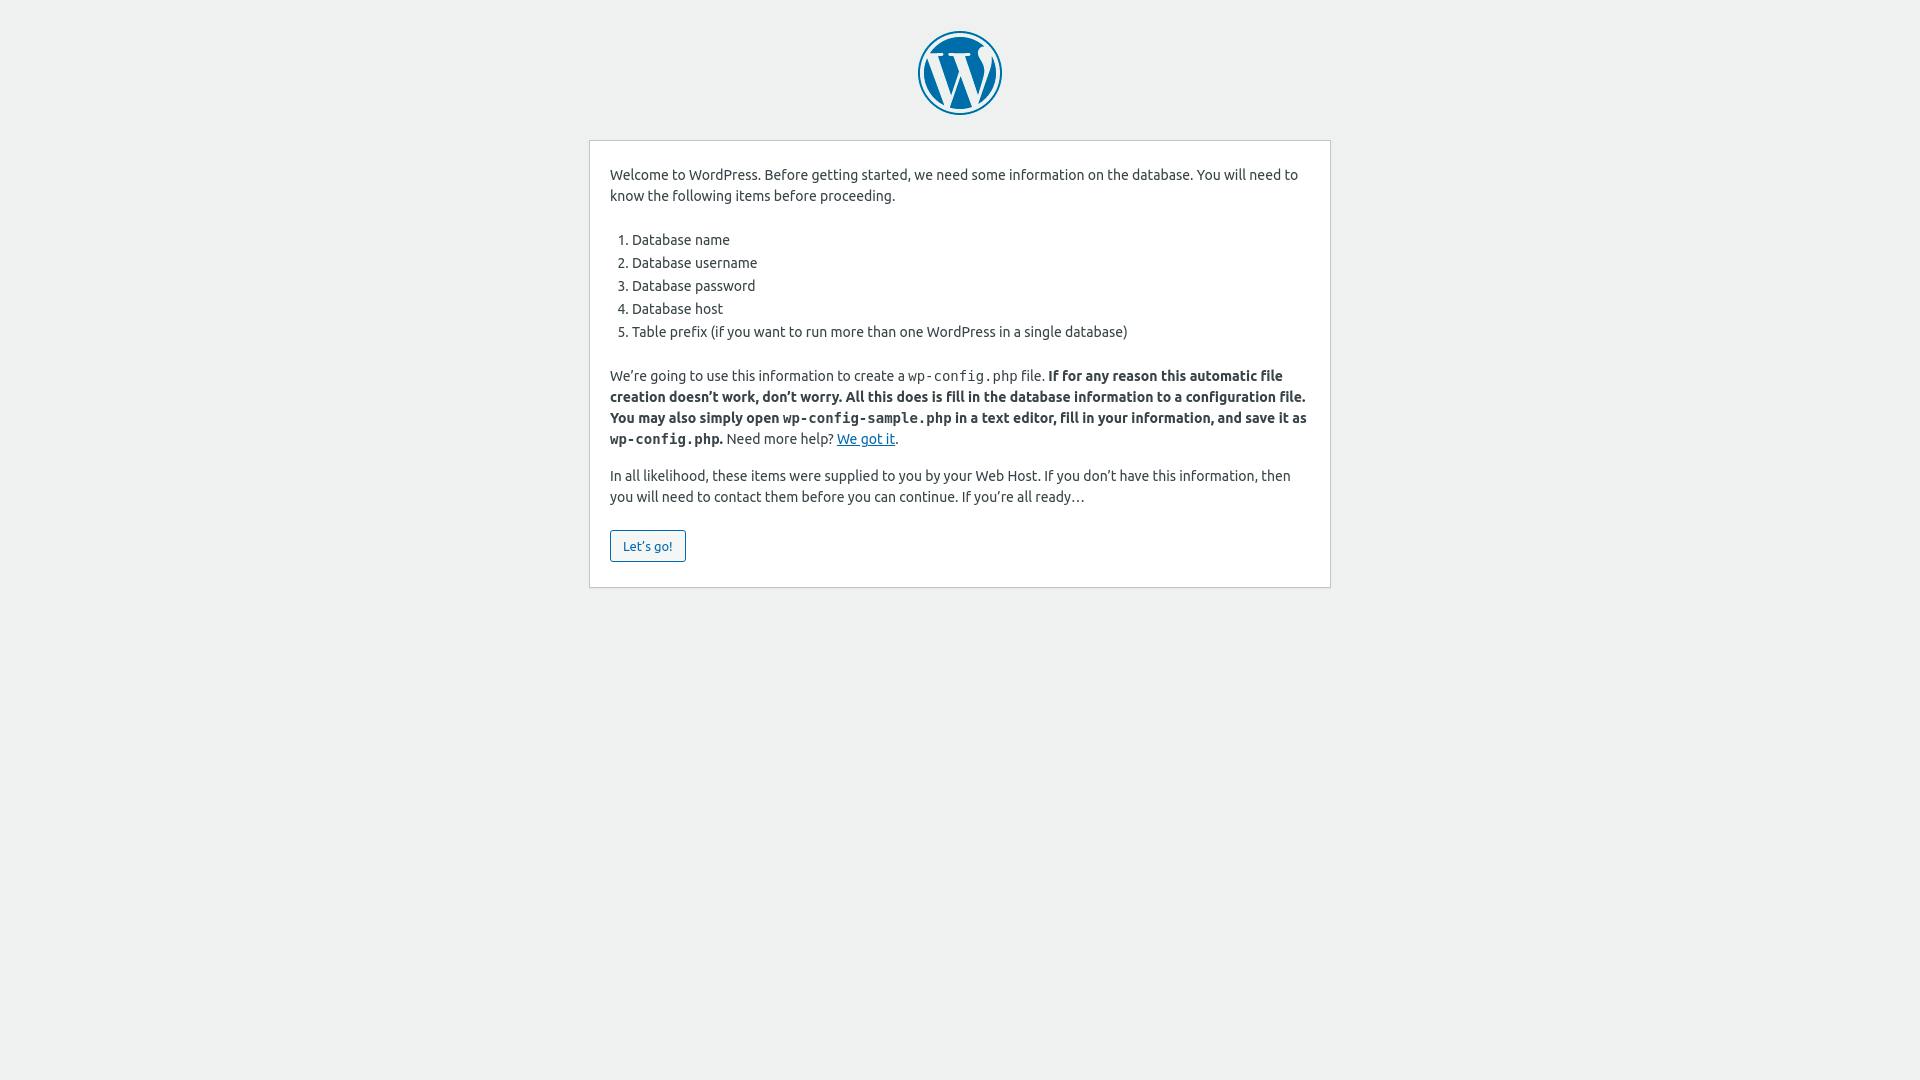 If this screen is displayed then it is an acknowledgement that wordpress server is installed properly. Clicking on let's go will take to the next page.
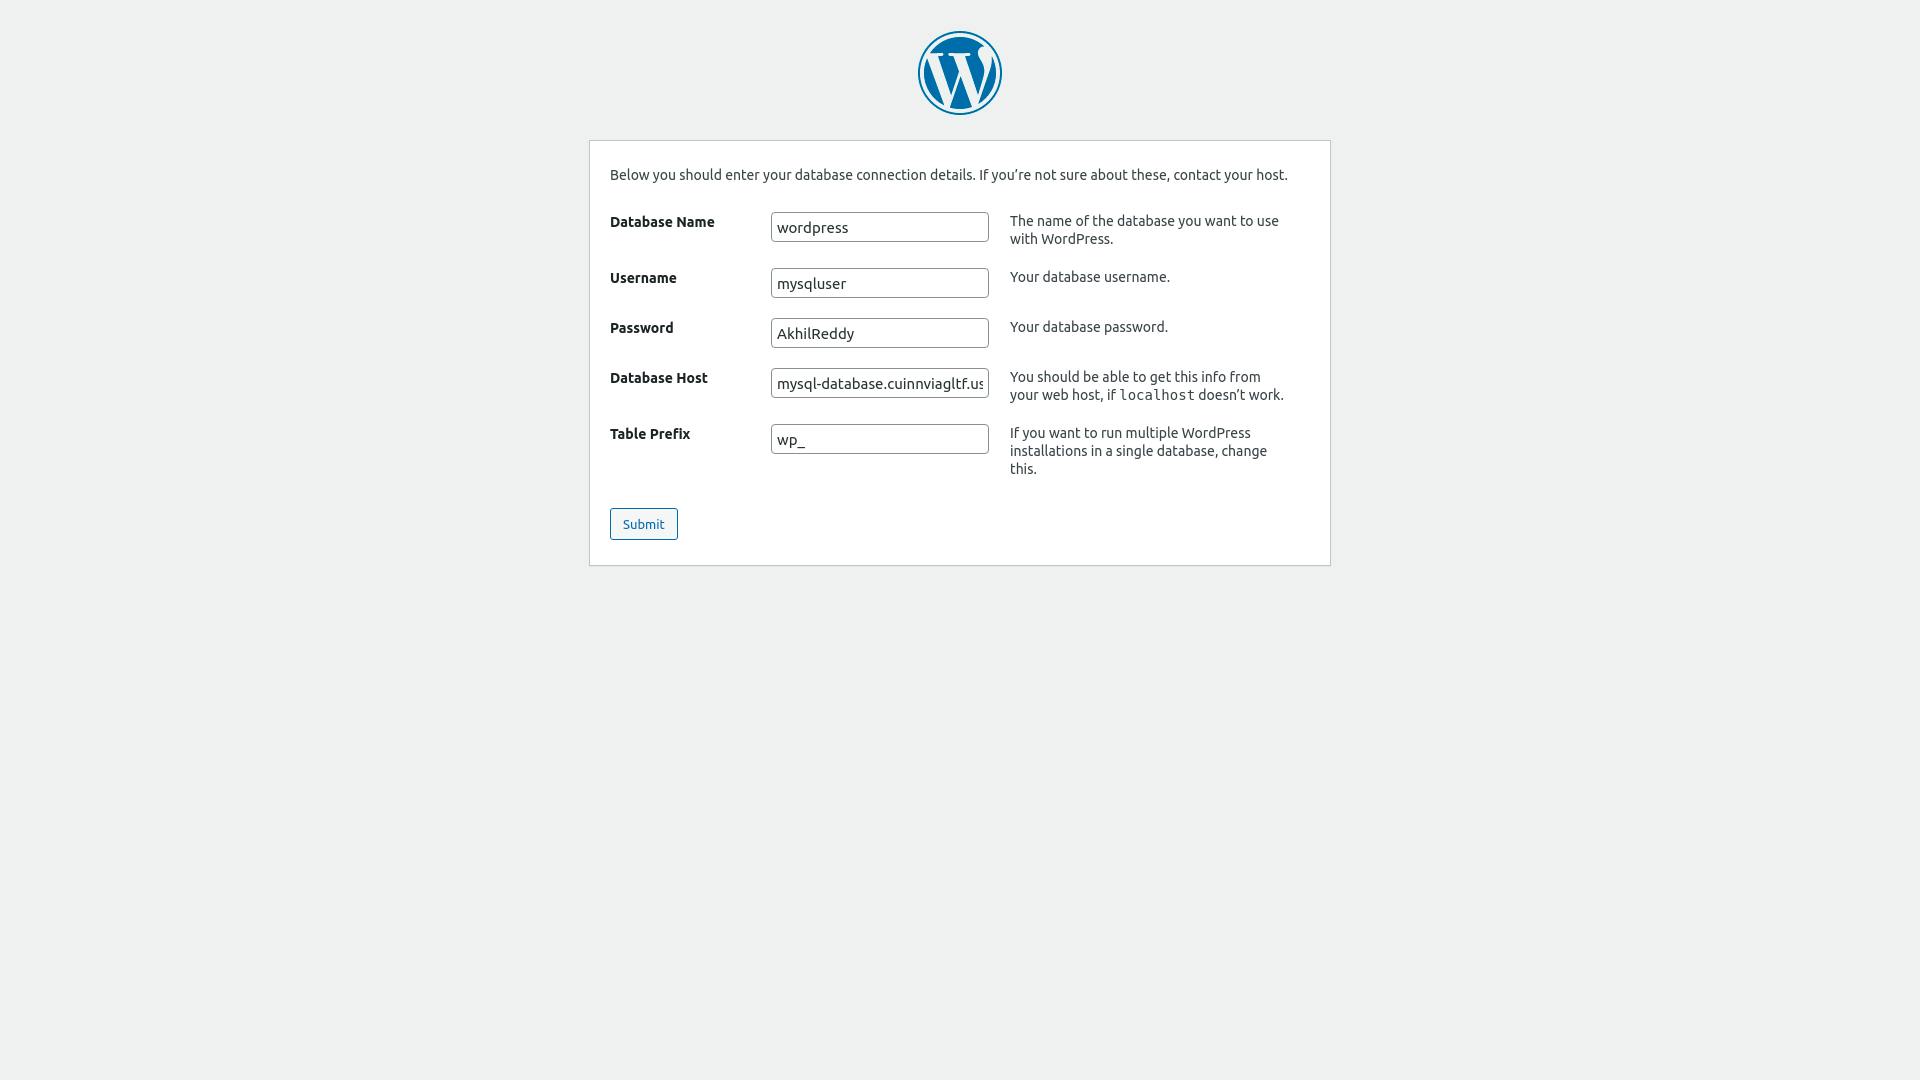
 This page is where we need to give the details about the database server. If we see this page it is asking for a database.
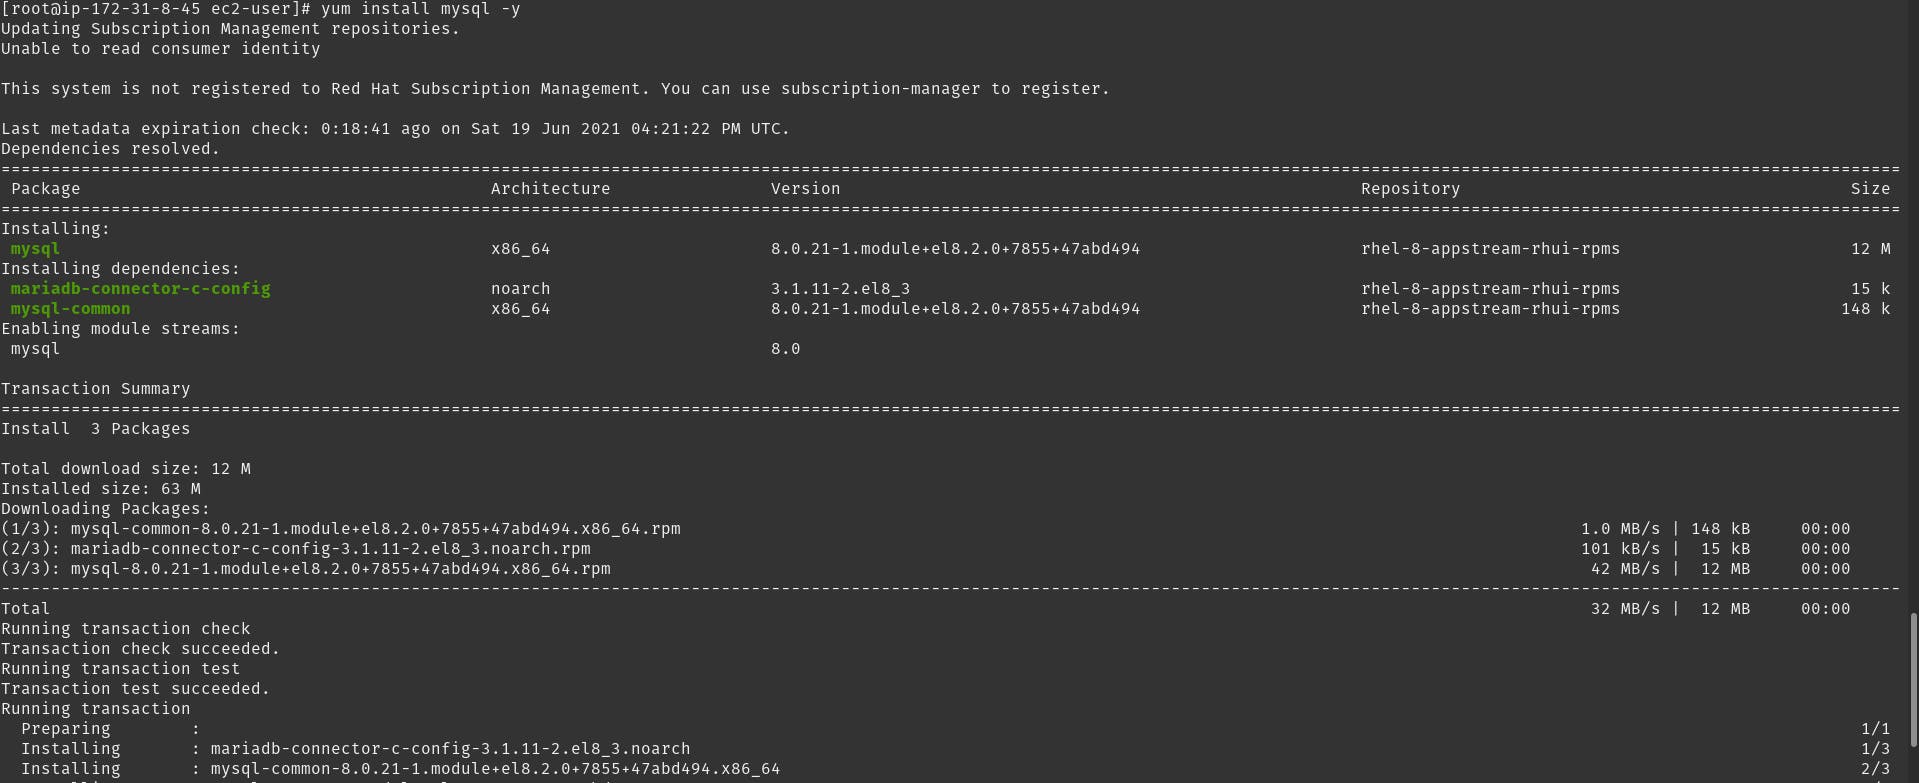 As the WordPress server needs a database that is already created in it hence I have installed the mysql client to access the database server from the WordPress server using the command
 yum install mysql -y.
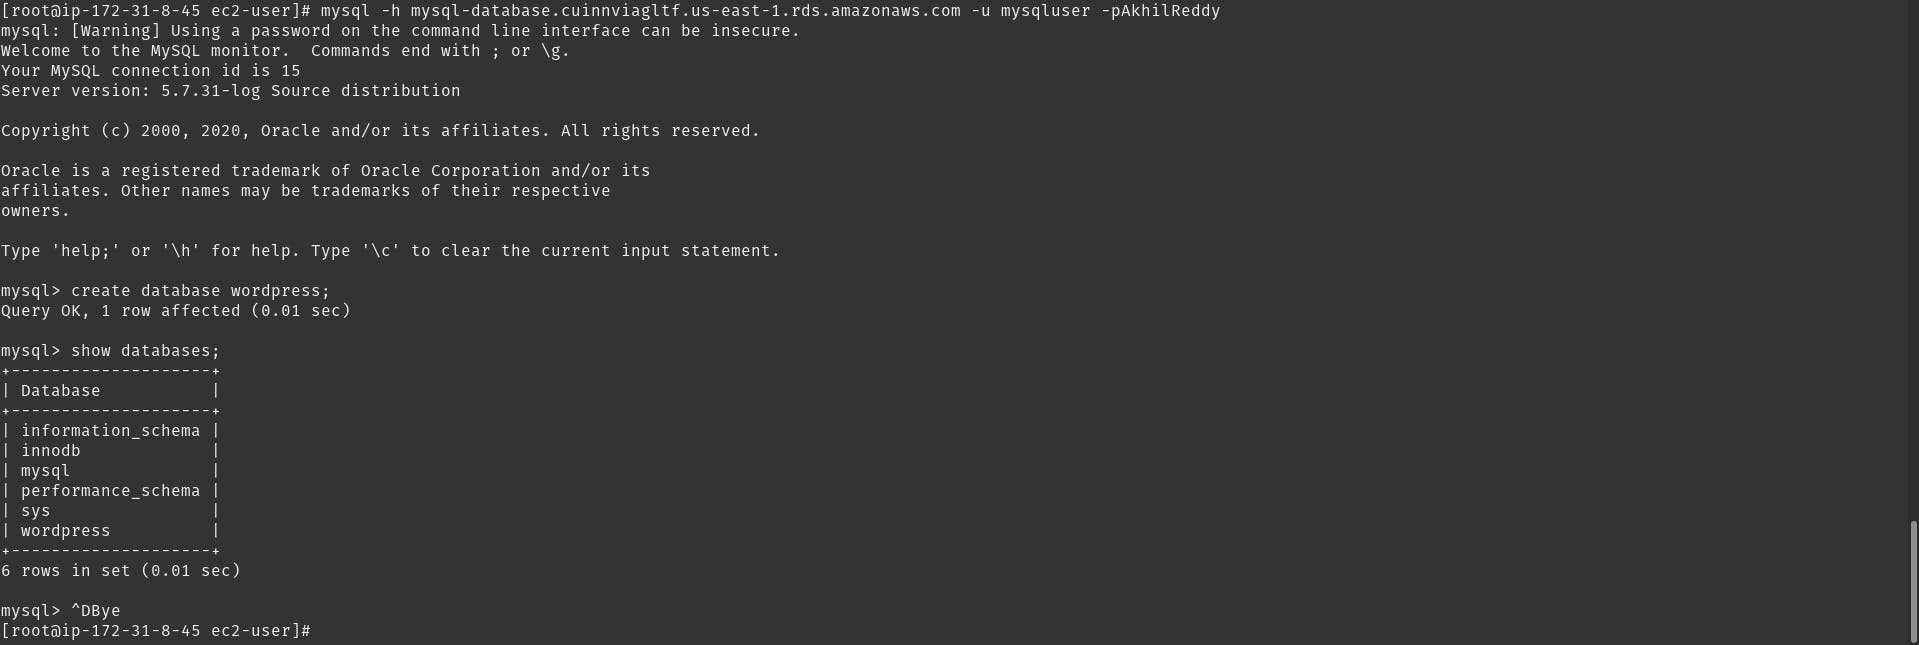 After installing the mysql client I have used the command
 mysql -h <host_name> -u <username> -p<password> to connect to the database. Here <host_name> is endpoint of the database server, <username> is the name of the user created, <password> is the password for the user. There should be no space after -p option while giving the password. Then I have created the database named wordpress using the query create database wordpress;
 Now coming back to where I left on the webpage I submitted it after the database is created.
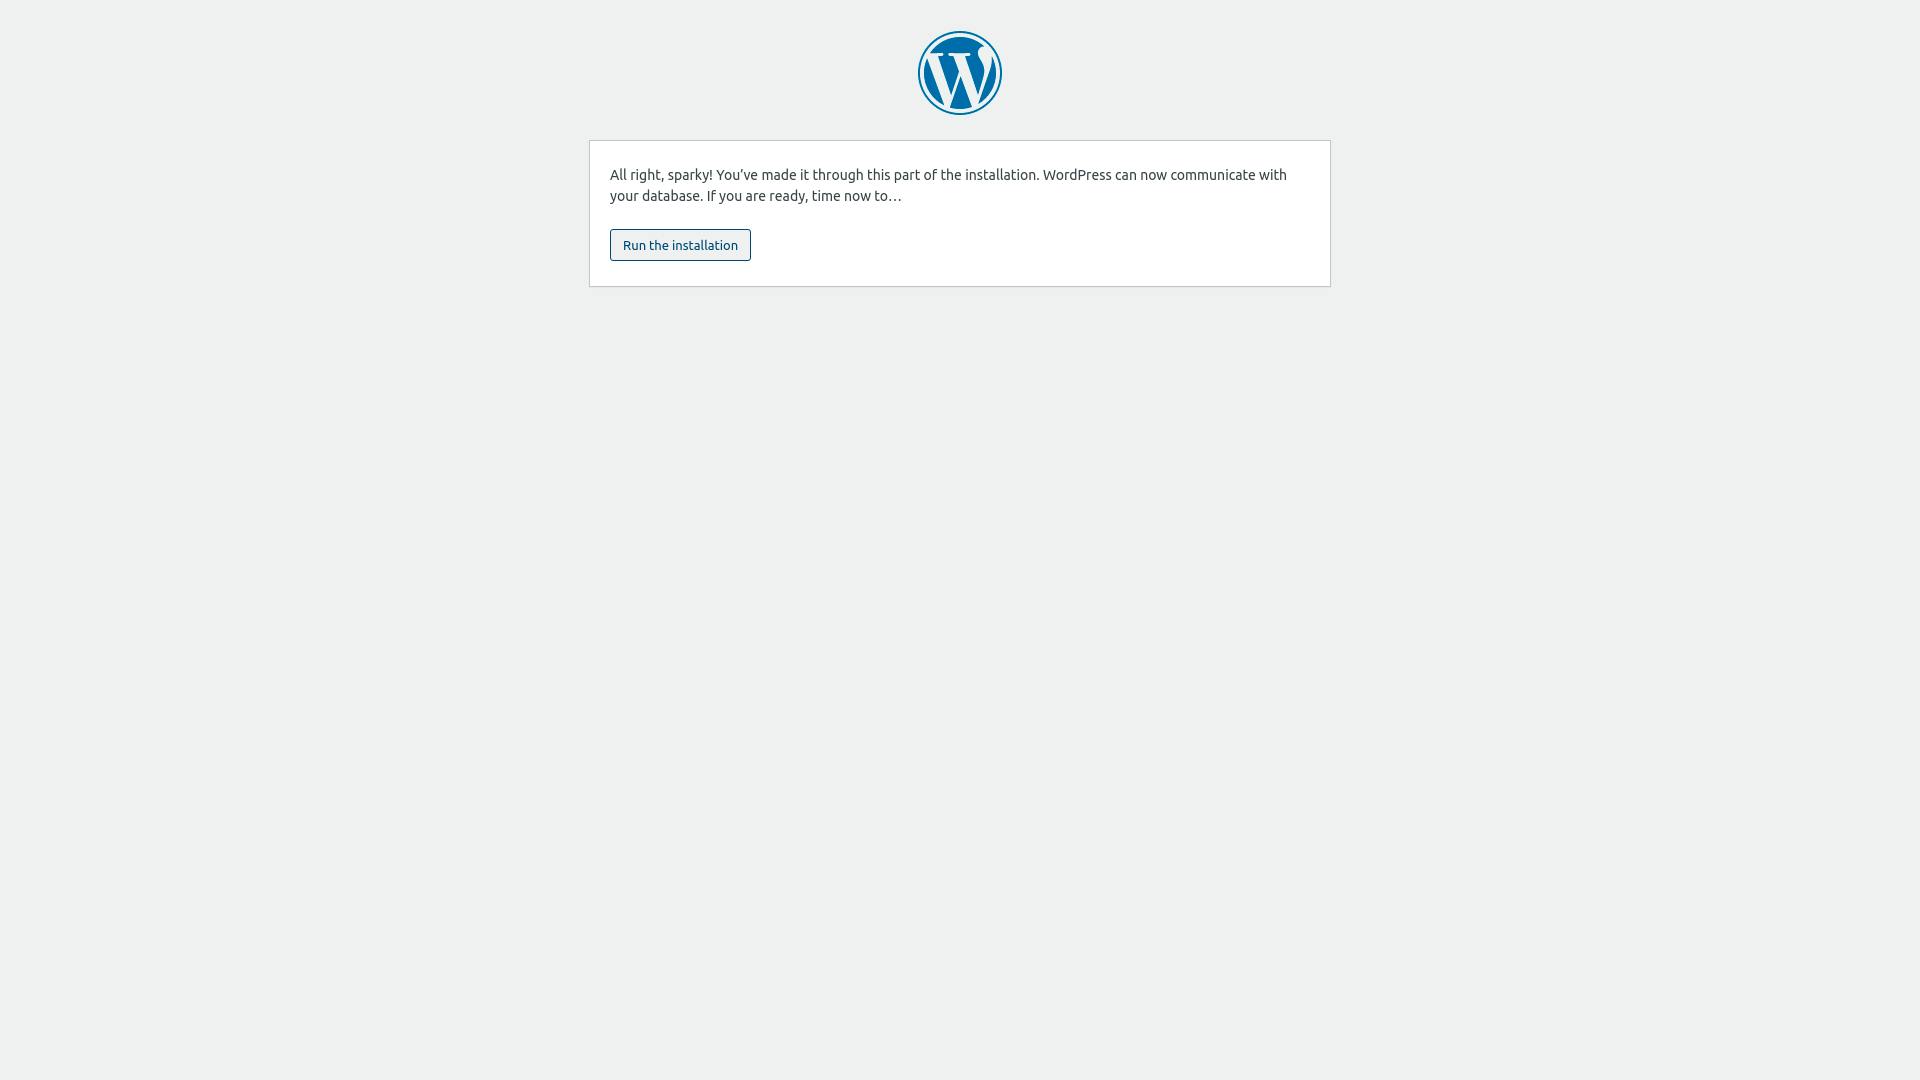 Then it returned a screen as above. Clicking on run the installtion will take to another page as following
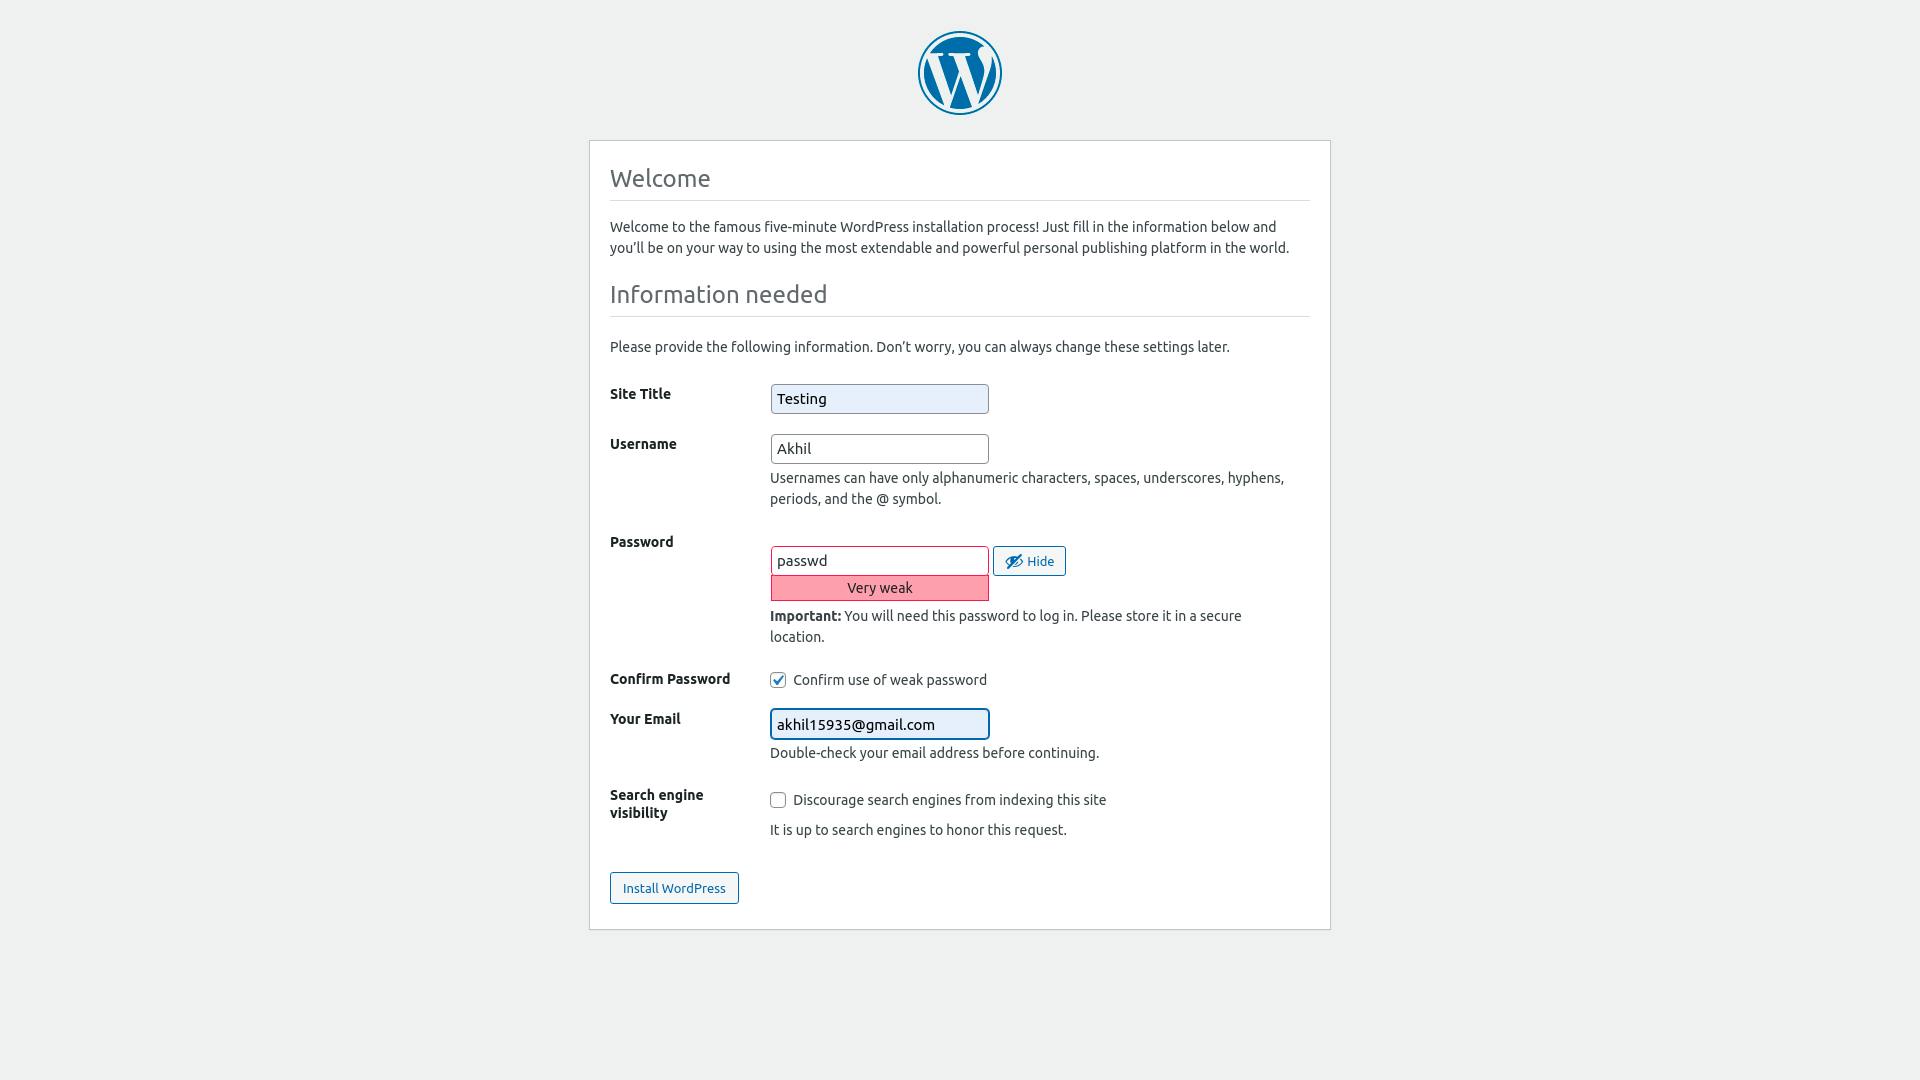 On this page I gave the details and submited the form
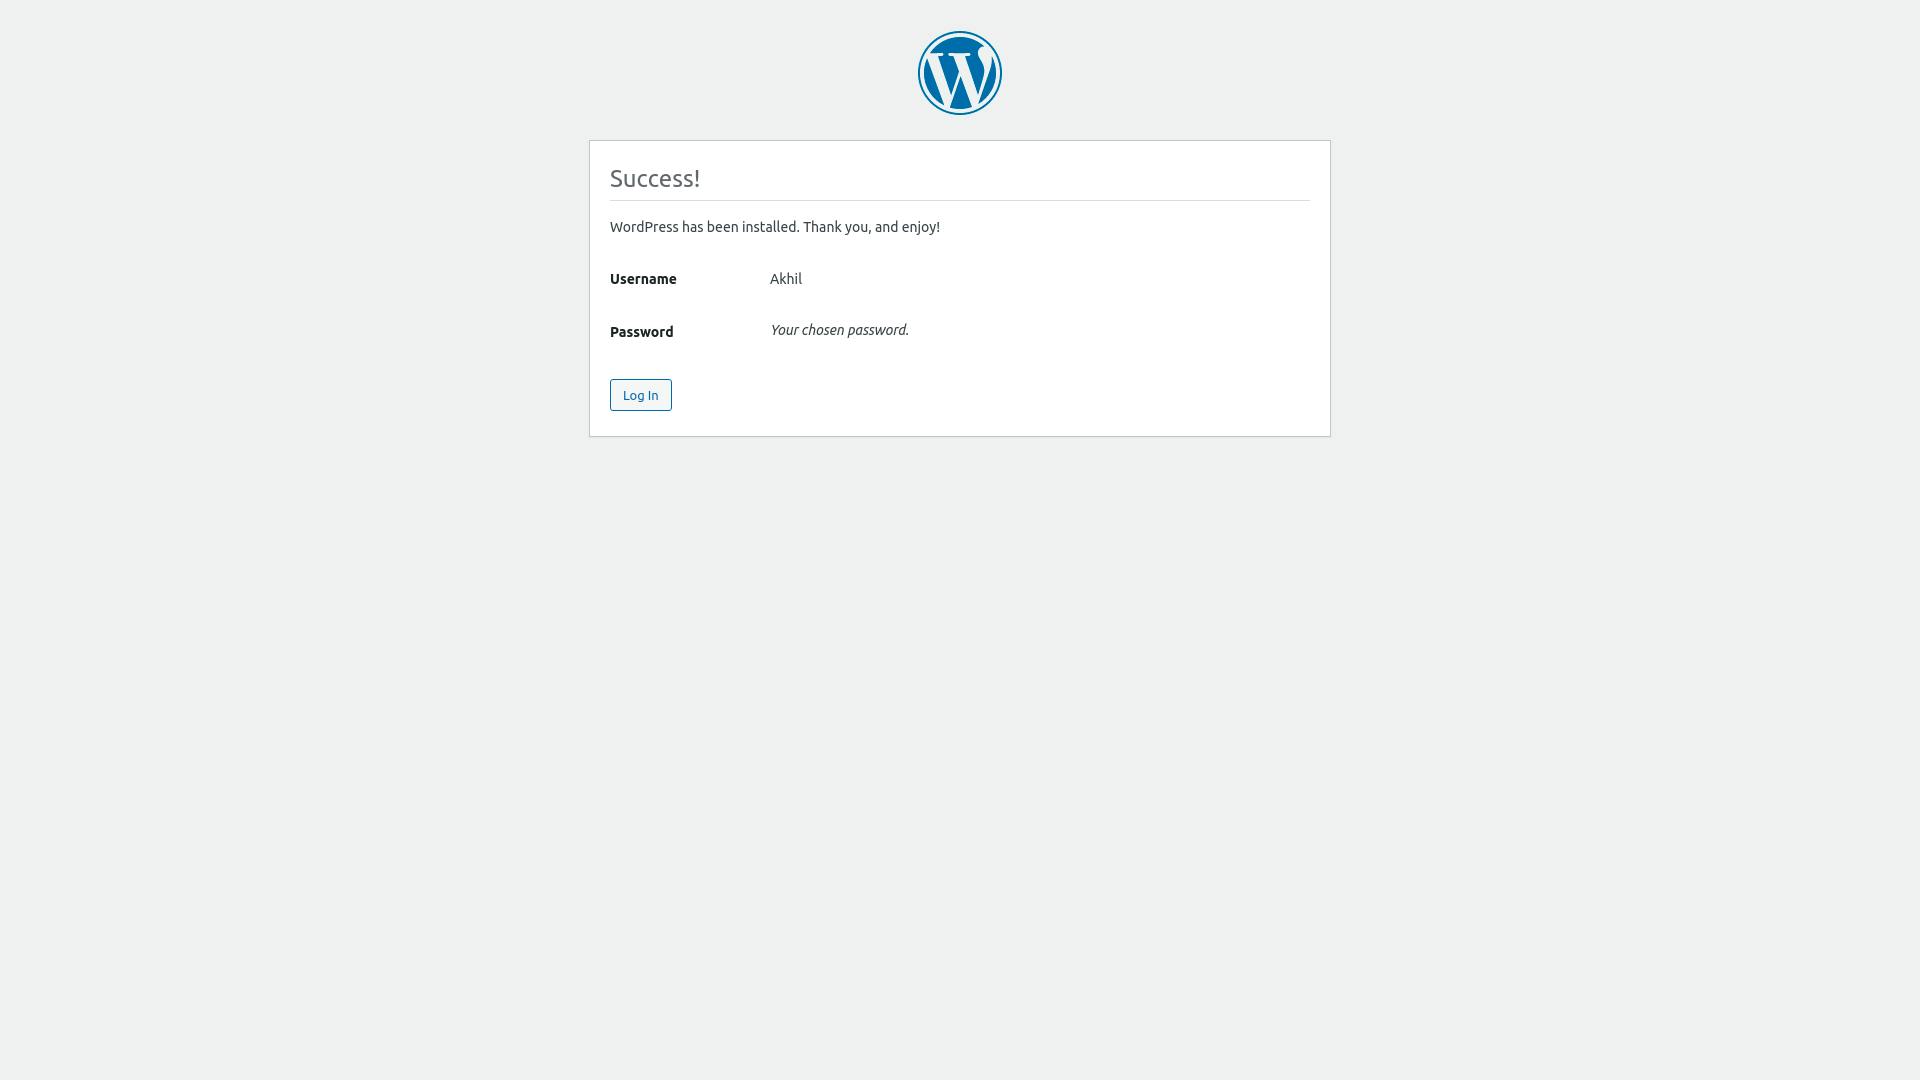 Then it gave a success screen as above
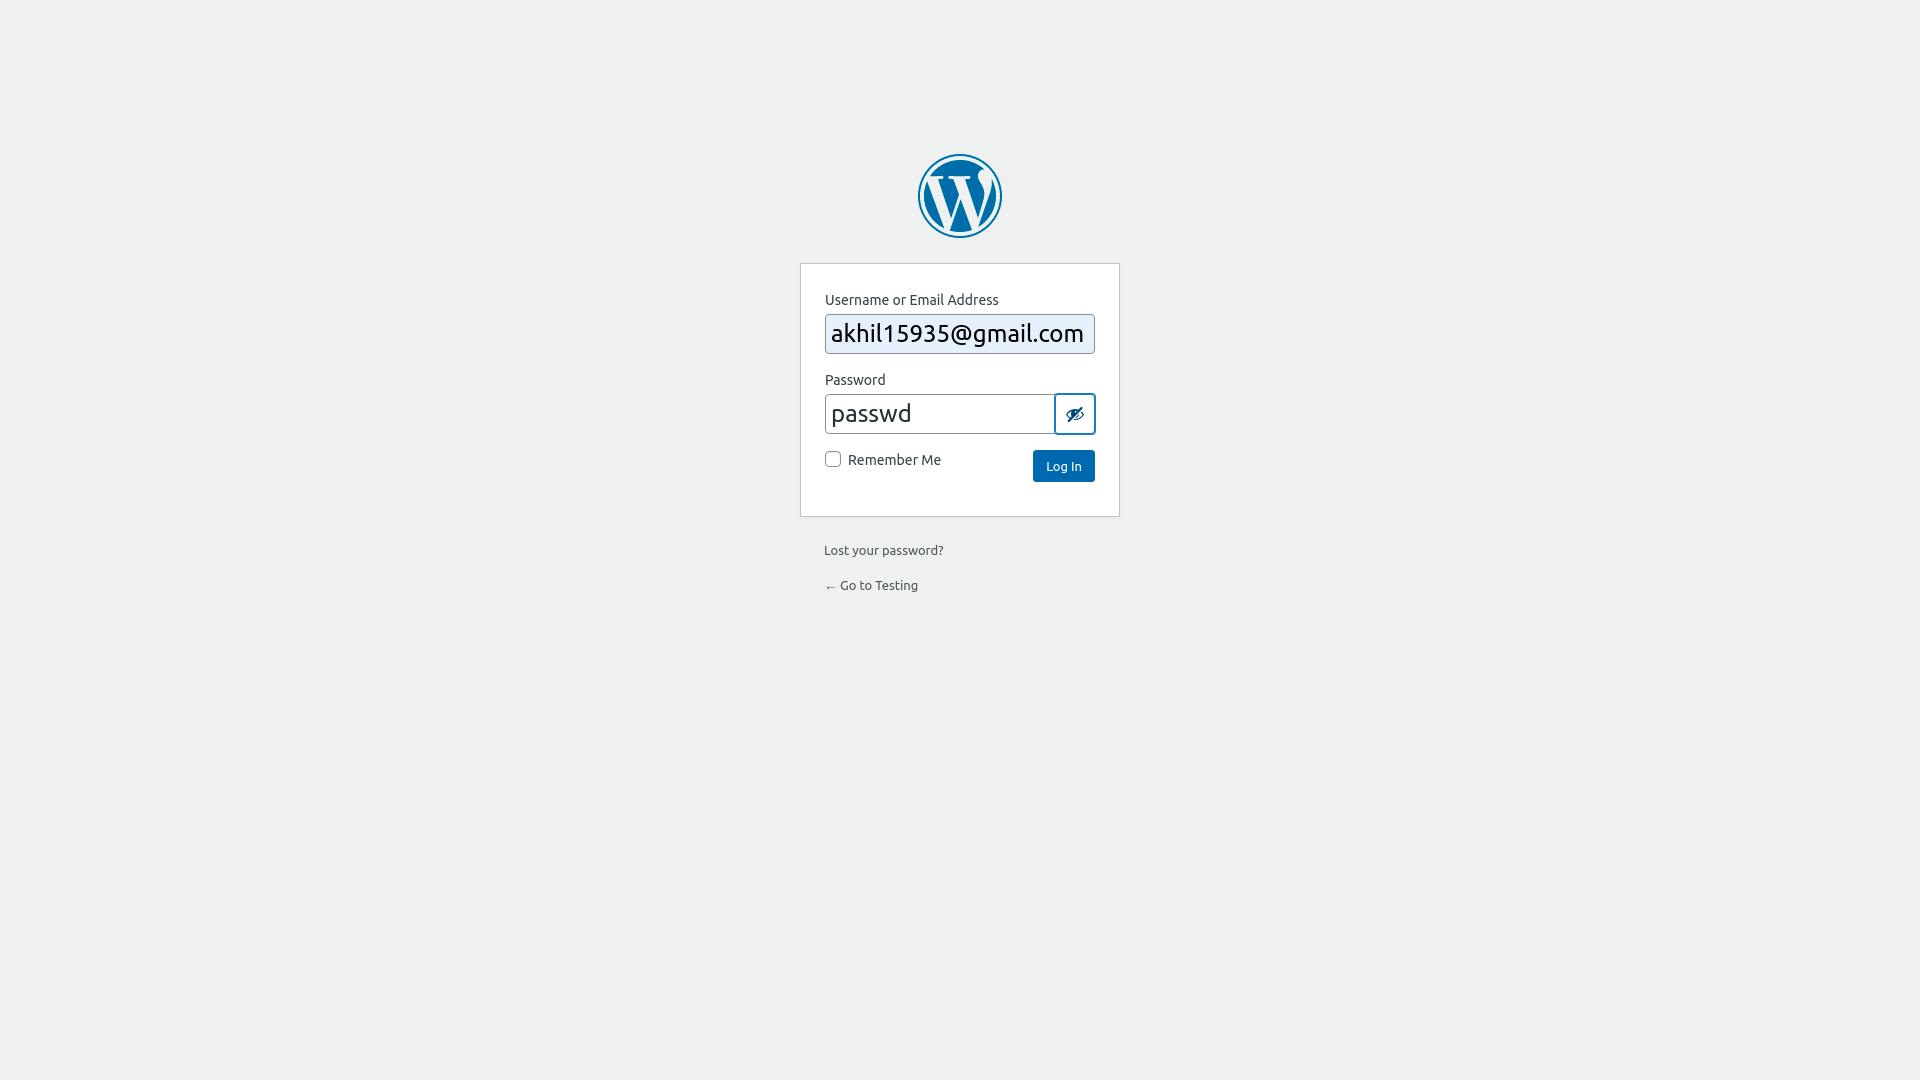 Now we need to provide the login details and login to the wordpress server. Which displayed the screen as follows which implies that wordpress is installed correctly and the database is connected to it.
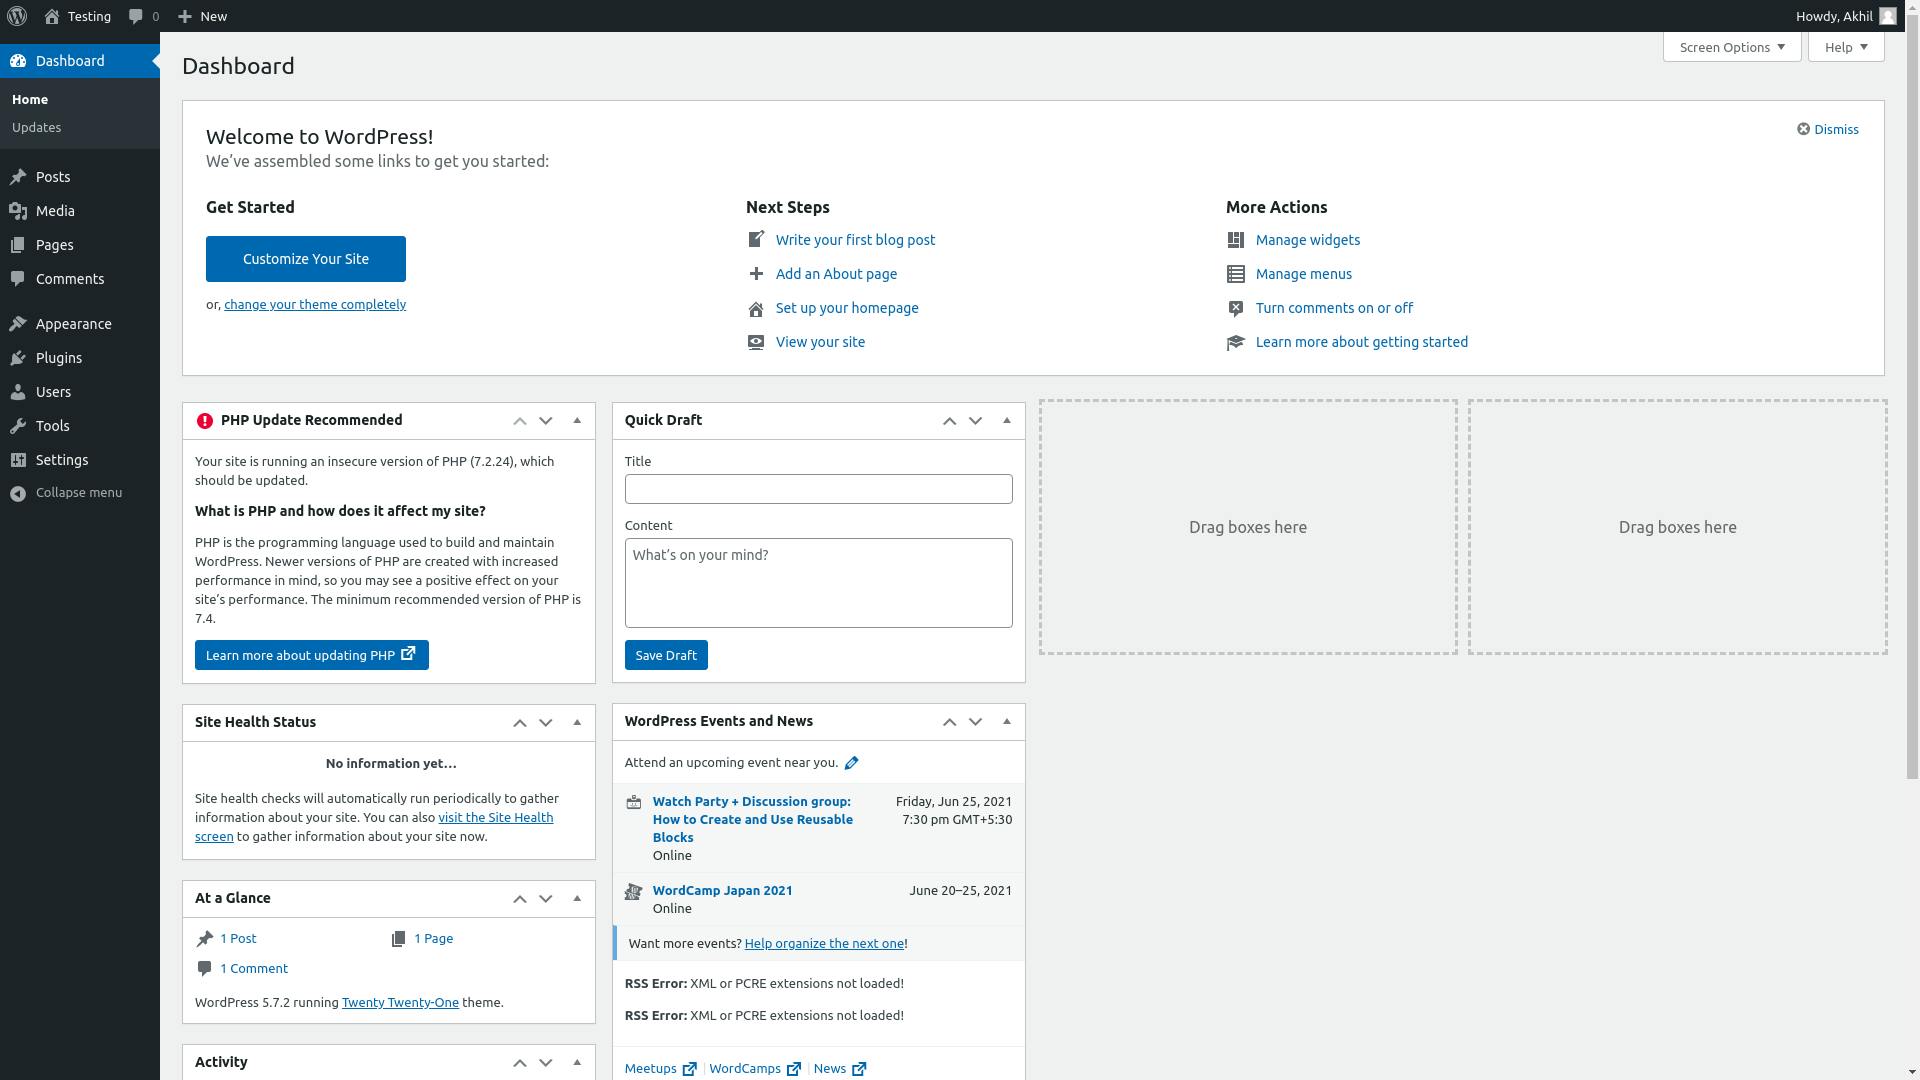
This is how I launched the database in RDS and used it for the WordPress server running on the EC2 instance.